
Deploy Laravel On Shared Hosting without moving public folder
Hello everyone, I hope you guys are doing well, and in this article, we will learn about how we can deploy laravel on shared hosting without moving public folder data outside.
Or you can say, we can deploy laravel with changing in public folder, or Upload laravel to shared hosting without changing in public folder.
You can also follow up on this example if you are uploading/deploying laravel projects on GoDaddy, hostinger, Bluehost etc.
We will follow the below steps to deploy/upload laravel on shared hosting
- Zip our local project
- Upload the zip in your public_html folder
- Unzip the folder
- Change in .env
- Copy .htacces and update the code
- Visit your url
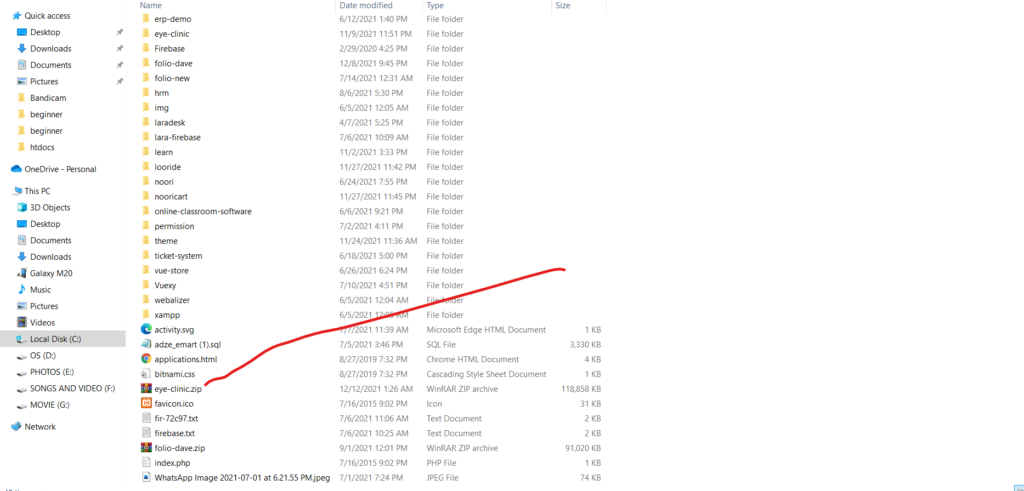
Step-1 Zip our local Project
This one is the very basic step that you all have to do, is to your project root path and zip your project as like I have done in my local computer. my project zip file named as eye-clinic.zip I have marked that one with the red marker, you can see that one in the below image
Step-2 Upload the zip in your public_html folder on shared hosting
Now you have to log in to your shared hosting account, I have my GoDaddy account so I will explain this one with my GoDaddy account, If you are also deploying your laravel project on GoDaddy then you have an image as like below when you log in.

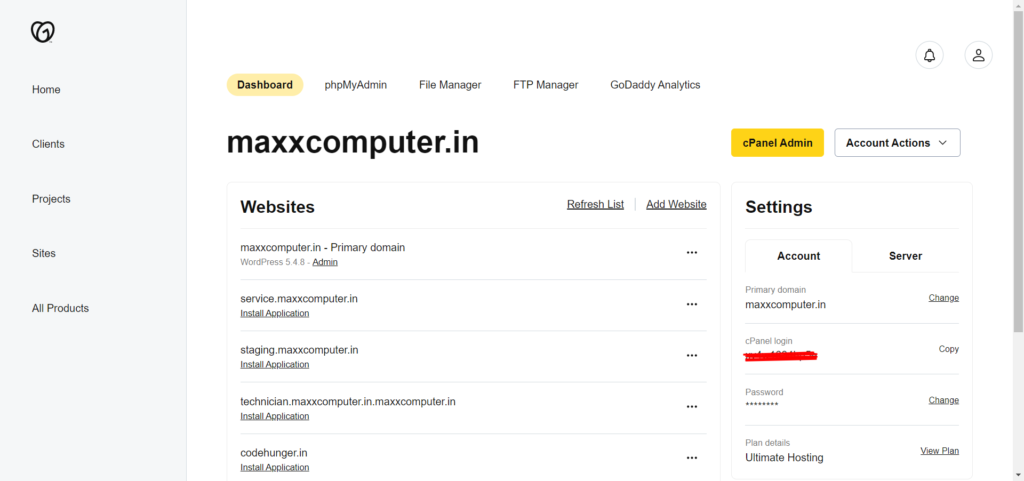
Now you have to go into your cPanel admin, when clicking on cPanel admin then you have the image like the below one.
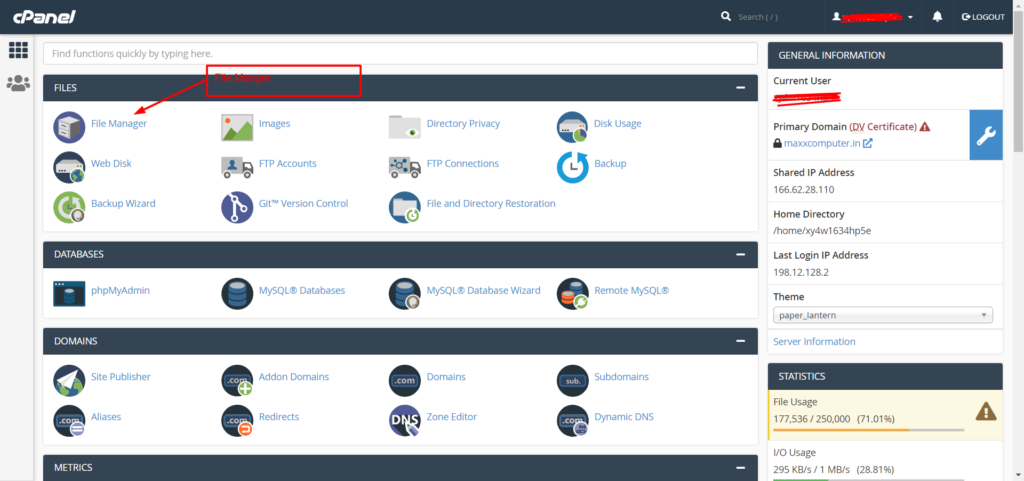
Now you have to click on file manager from your admin panel, when you click on the file manager you have the image like the below one.
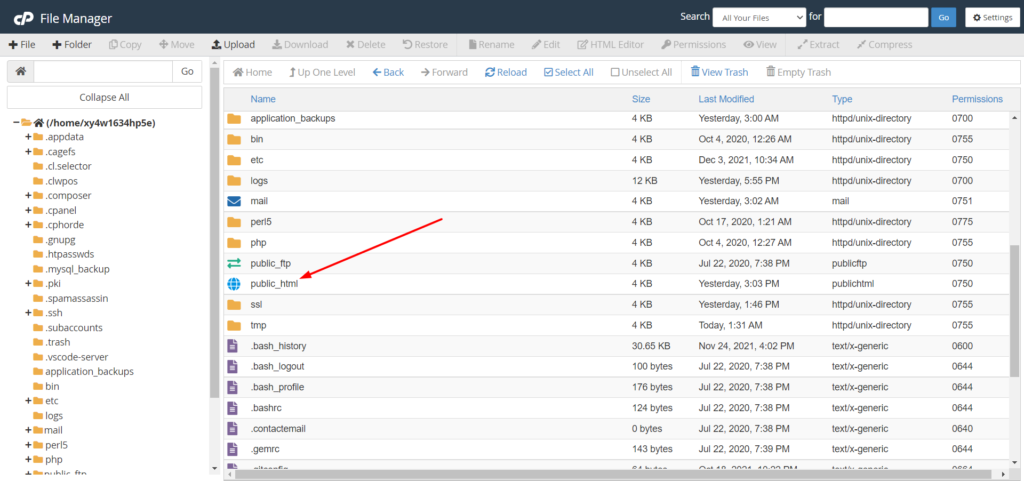
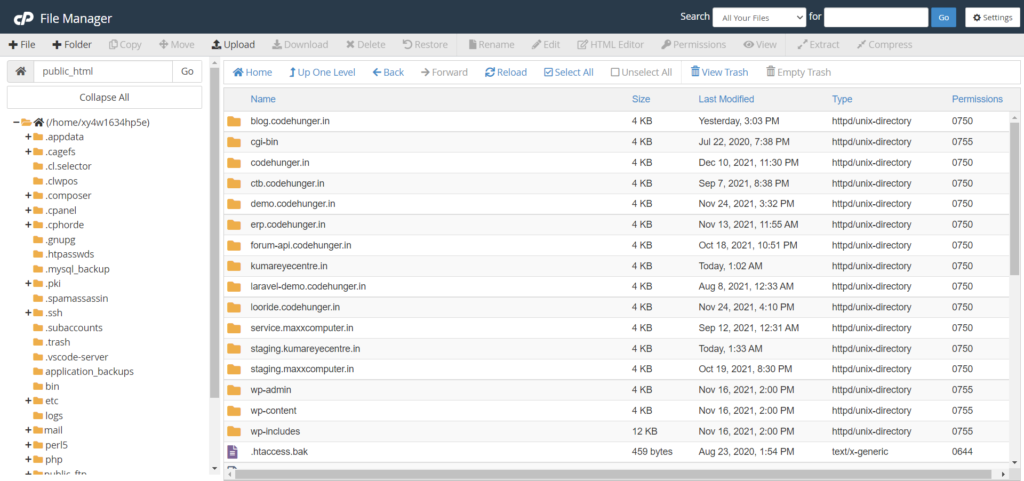
Now click on public_html, if you have a single hosting website plan then you can directly unzip the folder inside public_html, and if you have an ultimate plan then your public_html will look like the below one as I have the ultimate plan and deploy the laravel project inside staging.kumareyecentre.in the website.
Step-3 Unzip the folder
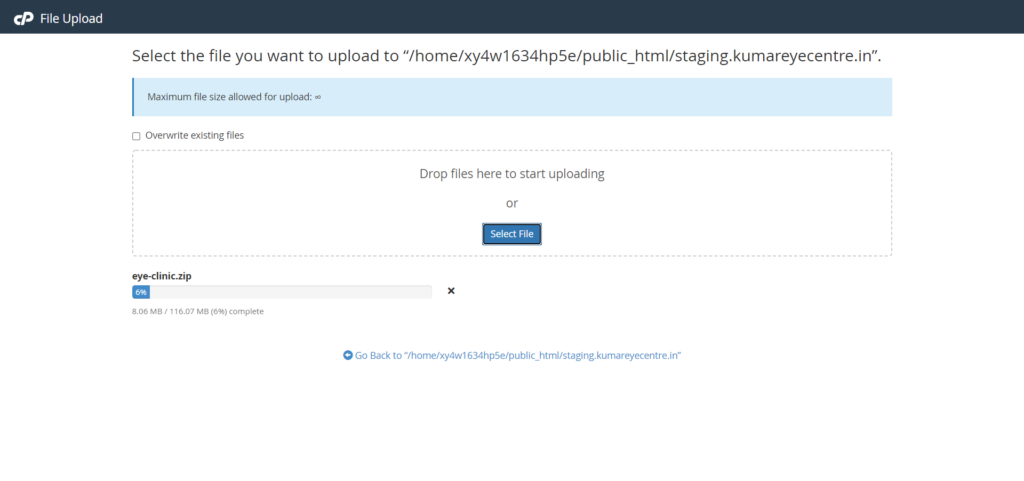
Now it’s time to upload your zip project folder to the shared hosting, I will upload the zip folder in my staging.kumareyecentre.in folder.
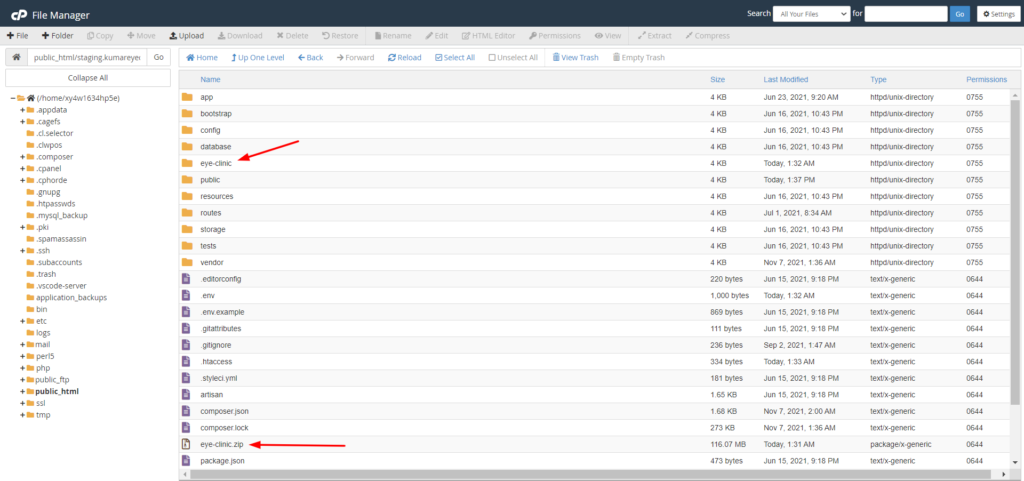
Now unzip your folder, my zip folder name was eye-clinic.zip, when I unzip it, it will create a folder named as eye-clinic, now we have to move all the folder and files to our root folder, for me I have to put in staging.kumareyecenter.in folder as like the below image.
Step-4 Change in .env
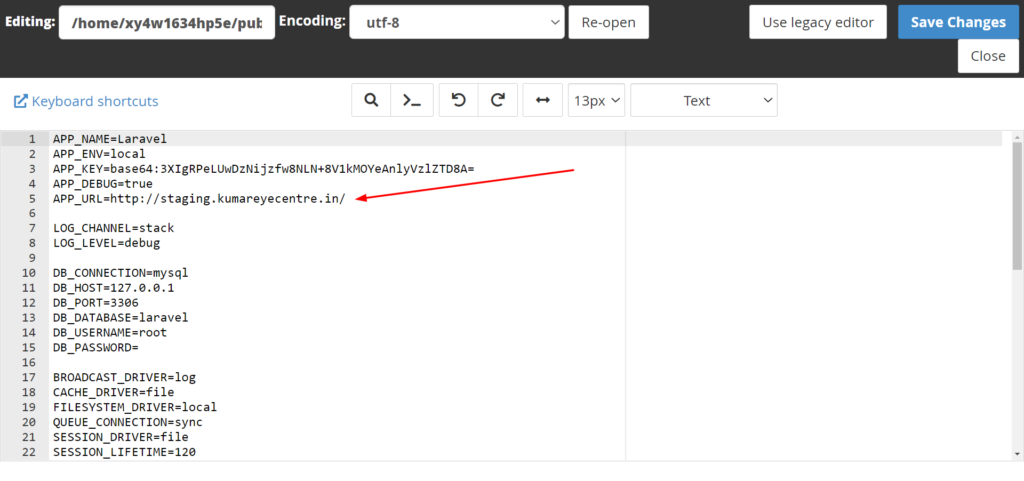
Now we have to set our app URL in the .env file, as I have done you can see that thing in the below image, I have marked it with the red arrow.
Step-5 Copy .htacces and update the code
Now you have to copy your .htacces from the public folder paste them into your project root folder, now replace the .htacces code with the below one.
<IfModule mod_rewrite.c>
RewriteEngine On

RewriteCond %{REQUEST_FILENAME} -d [OR]
RewriteCond %{REQUEST_FILENAME} -f
RewriteRule ^ ^$1 [N]

RewriteCond %{REQUEST_URI} (\.\w+$) [NC]
RewriteRule ^(.*)$ public/$1

RewriteCond %{REQUEST_FILENAME} !-d
RewriteCond %{REQUEST_FILENAME} !-f
RewriteRule ^ server.php
</IfModule>
Step-6 Visit your URL
Now all done, it’s time to visit your URL my website looks like the below one

I hope your site has been deployed without any issue, but it’s if you are facing an error feel free to put the comment.


2 Comments