In today’s article, I will guide you on how we can install the LAMP stack in Ubuntu 20.04, I will show you step by step guide
How we can install Linux, Apache, MySQL, PHP.
Before moving forward let’s know about the LAMP Stack.
A “LAMP” stack is a group of open-source software that is typically installed together in order to enable a server to host dynamic websites and web apps written in PHP. This term is an acronym which represents the Linux operating system, with the Apache web server. The site data is stored in a MySQL database, and dynamic content is processed by PHP.
To Install the LAMP we will follow the below steps
- Install the Apache
- Install Mysql
- Install PHP
Step – 1 Install the Apache
Run the below command to Install the Apache
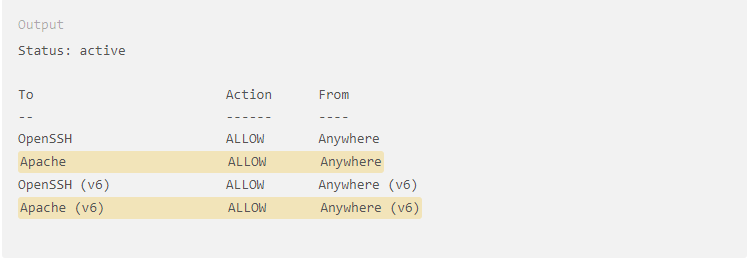
sudo apt updatesudo apt install apache2Once the installation is finished, you’ll need to adjust your firewall settings to allow HTTP traffic. UFW has different application profiles that you can leverage for accomplishing that. To list all currently available UFW application profiles, you can run:
sudo ufw allow in "Apache"sudo ufw statusthen you have something like the below Image
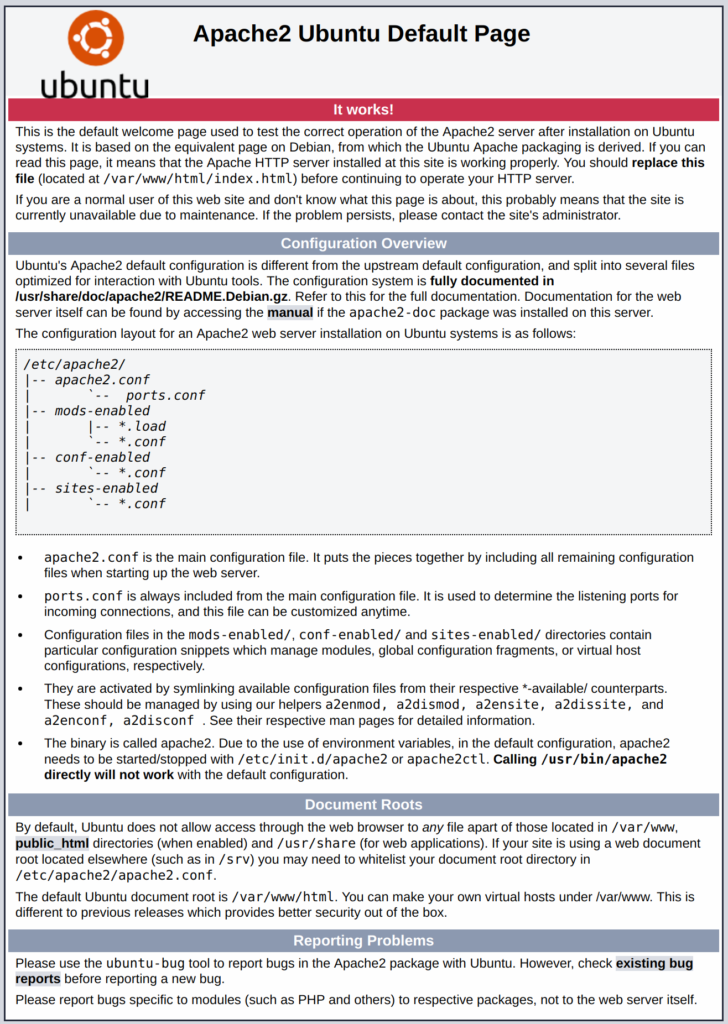
Now go to the browser and in the address bar write localhost, then you have something like the below image
Step – 2 Install Mysql
Now we will install mysql in our Ubuntu, we will use the below codeNow that you have a web server up and running, you need to install the database system to be able to store and manage data for your site. MySQL is a popular database management system used within PHP environments.
Use the below code to intall Mysql
sudo apt install mysql-serverWhen you’re finished, test if you’re able to log in to the MySQL console by typing the below code
sudo mysqlThis will connect to the MySQL server as the administrative database user root, which is inferred by the use of sudo when running this command. You should see output like this:

To exit the MySQL console, type the below command
exitStep – 3 Install PHP
You have Apache installed to serve your content and MySQL installed to store and manage your data. PHP is the component of our setup that will process code to display dynamic content to the final user. In addition to the php package, you’ll need php-mysql, a PHP module that allows PHP to communicate with MySQL-based databases. You’ll also need libapache2-mod-php to enable Apache to handle PHP files. Core PHP packages will automatically be installed as dependencies.
sudo apt install php libapache2-mod-php php-mysqlYou can check the PHP version by entering below command
php -v
If you want to install php 8.0 then follow the below step.
sudo apt install php8.0 libapache2-mod-php8.0then we have to restart our Apache
sudo systemctl restart apache2I hope you like the above article, give me 5 stars if your issue has been resolved.