In today’s article, we will learn about mollie subscription in Laravel, I will show you how we can integrate mollie subscription integration in Laravel.
I will show you step by step guide to integrate mollie payment in Laravel 8, we will follow each and every step , I will also show you images while testing mollie subscription.
Before moving towards the topic I want to tell you what is a payment gateway and how it is beneficial for our website.
What is the Payment Gateway?
A payment gateway is a merchant service provided by an e-commerce application service provider that authorizes credit card or direct payments processing for e-businesses, online retailers. Payment gateway like Stripe, Razorpay, Mollie, Authorize are very popular nowadays.
Benefits of Mollie Payment Gateway
- Secure transactions
- Expanded customer base
- Faster transaction processing
Read Also: Mollie Payment In Laravel 8
To create Mollie Subscription in Laravel, we will follow below steps
- Create an Account on Mollie
- Install Laravel Project
- Install Mollie Package
- Generate Auth Scaffolding
- Create Migration File
- Create Controller
- Add Routes
- Add Blade File
- Test The Integration
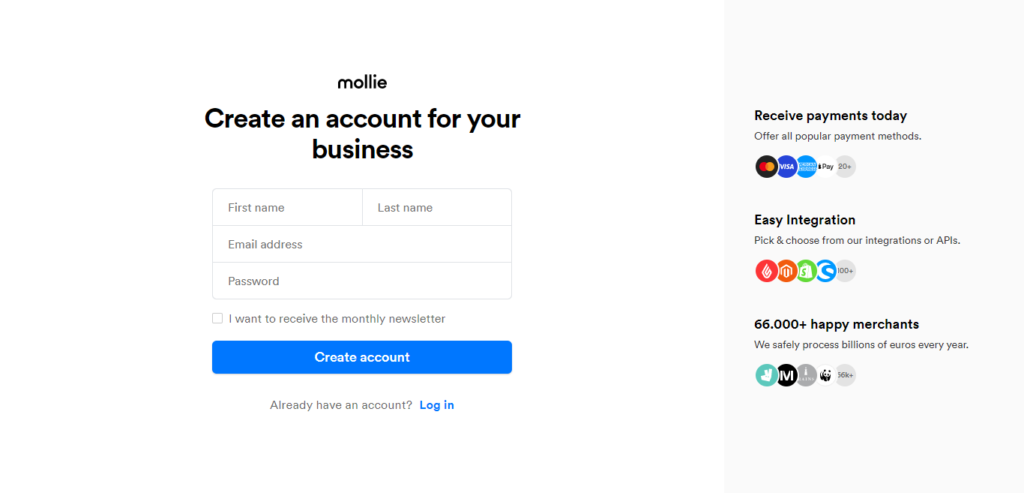
Step: 1 Create an Account on Mollie for mollie subscription
Create a Mollie account by clicking on this link.
Login to Mollie dashboard in the sidebar you will see developers, click on developers to get your API Key.
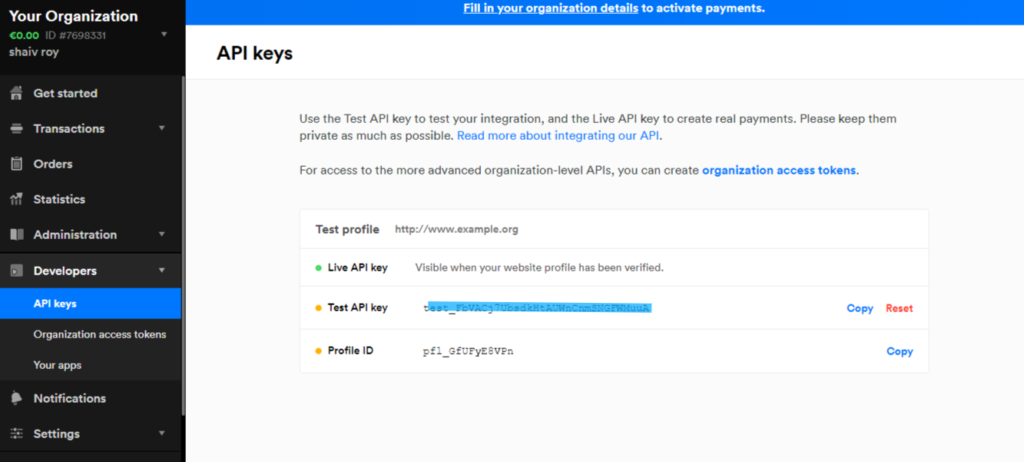
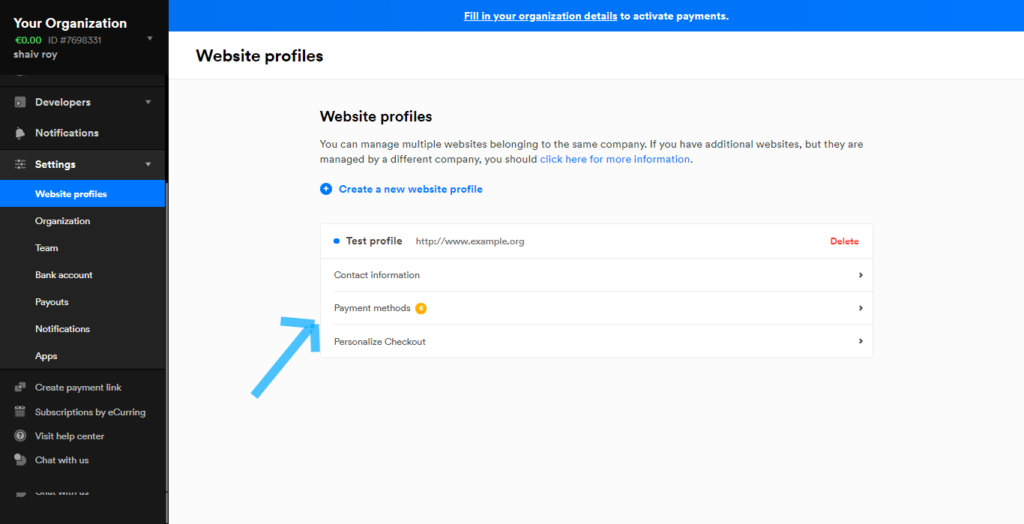
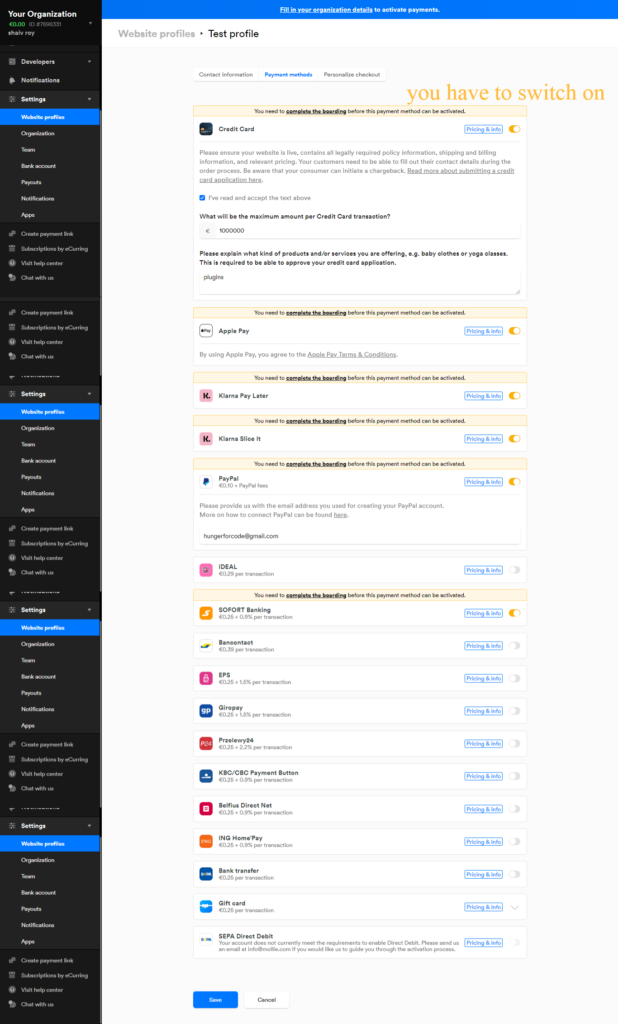
Don’t forget to activate your payment method, as it gives errors during the payment. To activate the payment method you have to go settings -> website profile, then under the website profile, you can see the payment methods. You have to activate them.
Step: 2 Install Laravel Project
Open your command prompt under your htdocs and run the below command
composer create-project laravel/laravel laravel-vue-crudStep:3 Install Mollie Package
Now run the below command to install Mollie package in Laravel, run the below command
composer require mollie/laravel-mollie Step:4 Create Auth Scaffolding
Run the below command to create Auth
npm icomposer require laravel/uiphp artisan ui vue --authnpm run prodStep:5 Create Migration File
We will add one more column in your users existing table,enter the below command to create migration file
php artisan make:migration add_mollie_customer_id_to_users_table --table=user
Now go to app/database/migrations/ and look for this file 2021_01_28_045936_add_mollie_customer_id_to_users_table.php. Open that file and the below code.
<?php

use Illuminate\Database\Migrations\Migration;
use Illuminate\Database\Schema\Blueprint;
use Illuminate\Support\Facades\Schema;

class AddMollieCustomerIdToUsersTable extends Migration
{
    /**
     * Run the migrations.
     *
     * @return void
     */
    public function up()
    {
        Schema::table('users', function (Blueprint $table) {
            $table->string('mollie_customer_id')->after('email_verified_at')->nullable();
        });
    }

    /**
     * Reverse the migrations.
     *
     * @return void
     */
    public function down()
    {
        Schema::table('users', function (Blueprint $table) {
            //
        });
    }
}
Now run the below command to column to your users table
php artisan migrate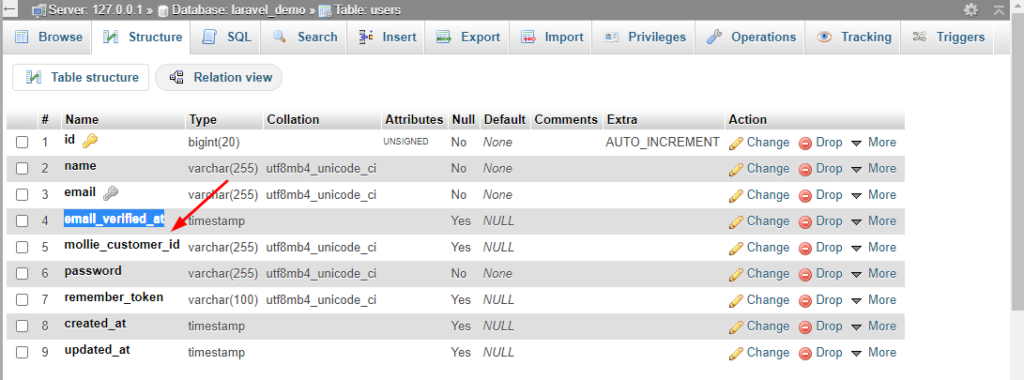
Step: 6 Create Controller
Now run the below command to create controller
php artisan make:controller MollieControllerThe above command will create a controller under app/Http/Controllers
Now add the below code in your MollieController
<?php

namespace App\Http\Controllers;

use Illuminate\Http\Request;
use Mollie\Laravel\Facades\Mollie;
use Auth;
use App\Models\user;

class MollieController extends Controller
{

    public function  __construct()
    {
        Mollie::api()->setApiKey('test_FbVACj7UbsdkHtAUWnCnmSNGFWMuuA');
    }

    /**
     * Create Mollie Payment
     *
     * @return Response
     */
    public function createPayment()
    {

        // check if customer already created or not
        $mollie_customer_id = User::where('id',Auth::user()->id)->pluck('mollie_customer_id')->first();

        if (empty($mollie_customer_id)) {
            //API to create customer
            $customer = Mollie::api()->customers->create([
                "name" => Auth::user()->name,
                "email" => Auth::user()->email,
            ]);

            $mollie_customer_id = $customer->id;

            User::where('id',Auth::user()->id)->update(['mollie_customer_id'=>$mollie_customer_id]);
        }

        // Creating Payment
        $payment = Mollie::api()->customers->get($mollie_customer_id)->createPayment([
            "amount" => [
               "currency" => "EUR",
               "value" => "1.00",
            ],
            "description" => "CodeHunger Software",
            "sequenceType" => "first",
            "redirectUrl" => route('mollie.payment.success'), // after the payment completion where you to redirect
        ]);

        $payment = Mollie::api()->payments()->get($payment->id);

        // redirect customer to Mollie checkout page
        return redirect($payment->getCheckoutUrl(), 303);

    }

    /**
     * Create Mollie Subscription
     *
     * @return Response
     */
    public function createMollieSubscription()
    {
        $mollie_customer_id = User::where('id',Auth::user()->id)->pluck('mollie_customer_id')->first();

        $customer = Mollie::api()->customers->get($mollie_customer_id);

        $subscription = $customer->createSubscription([
            "description" => "Quarterly payment",
            "interval" => "3 months",
            "amount" => [
                "currency" => "EUR",
                "value" => "25.00",
            ],
            "times" => 12,
        ]);
        dd($subscription);
    }

    /**
     * Page redirection after the successfull payment
     *
     * @return Response
     */
    public function paymentSuccess()
    {
        return view('mollie-success')->with('status','payment succesfully received');
    }
}
Step: 7 Add Routes
Now add the below routes in your routes/web.php file, first add namespace on the top
use App\Http\Controllers\MollieController;//Mollie Payment
Route::get('mollie-payment-success',[MollieController::Class, 'paymentSuccess'])->name('mollie.payment.success');
Route::get('mollie-create-payment',[MollieController::Class,'createPayment'])->name('mollie.create.payment');
Route::get('create-mollie-subscription',[MollieController::Class,'createMollieSubscription'])->name('create.mollie.subscription');Step: 8 Add Blade Files
Now create one blade file named mollie-success.blade.php under resources/views and add the below code
@extends('layouts.app')
@section('content')
<div class="pricing-header px-3 py-3 pt-md-5 pb-md-4 mx-auto text-center">
<h1 class="display-4">Choose One Plan To Subscribe</h1>
</div>
<div class="container">
@if (!empty($status) || Session::get('status'))
<div class="alert alert-success alert-block">
<button type="button" class="close" data-dismiss="alert">×</button>
<strong>{{ $status ?? Session::get('status')}}</strong>
</div>
@endif
<div class="card-deck mb-3 text-center">
<div class="card mb-4 box-shadow">
<div class="card-header">
<h4 class="my-0 font-weight-normal">Free</h4>
</div>
<div class="card-body">
<h1 class="card-title pricing-card-title">€0 <small class="text-muted">/ mo</small></h1>
<ul class="list-unstyled mt-3 mb-4">
<li>10 users included</li>
<li>2 GB of storage</li>
<li>Email support</li>
<li>Help center access</li>
</ul>
<button type="button" class="btn btn-lg btn-block btn-outline-primary">Sign up for free</button>
</div>
</div>
<div class="card mb-4 box-shadow">
<div class="card-header">
<h4 class="my-0 font-weight-normal">Pro</h4>
</div>
<div class="card-body">
<h1 class="card-title pricing-card-title">€15 <small class="text-muted">/ mo</small></h1>
<ul class="list-unstyled mt-3 mb-4">
<li>20 users included</li>
<li>10 GB of storage</li>
<li>Priority email support</li>
<li>Help center access</li>
</ul>
<a href="{{route('create.mollie.subscription')}}" class="btn btn-lg btn-block btn-primary">Get started</a>
</div>
</div>
<div class="card mb-4 box-shadow">
<div class="card-header">
<h4 class="my-0 font-weight-normal">Enterprise</h4>
</div>
<div class="card-body">
<h1 class="card-title pricing-card-title">€29 <small class="text-muted">/ mo</small></h1>
<ul class="list-unstyled mt-3 mb-4">
<li>30 users included</li>
<li>15 GB of storage</li>
<li>Phone and email support</li>
<li>Help center access</li>
</ul>
<a href="{{route('create.mollie.subscription')}}" class="btn btn-lg btn-block btn-primary">Get started</a>
</div>
</div>
</div>
</div>
@endsectionNow go to resources/views and open home.blade.php and add the below code.
@extends('layouts.app')
@section('content')
<div class="container">
    <div class="row justify-content-center">
        <div class="col-md-8">
            <div class="card">
                <div class="card-header">{{ __('Dashboard') }}</div>

                <div class="card-body">
                    @if (session('status'))
                        <div class="alert alert-success" role="alert">
                            {{ session('status') }}
                        </div>
                    @endif

                    Please make a payment of  1 EUR
                    <a class="btn btn-primary" href="{{route('mollie.create.payment')}}">Pay 1 EUR</a>
                </div>
            </div>
        </div>
    </div>
</div>
@endsection
Note: To create a subscription in mollie User must have a previous payment with your portal, otherwise you have to force the user to make a small payment. I will do the same during the test.
Step: 9 Test The integration
To test the integration run the below command
php artisan serveNow go to your browser address bar and type the below URL http://127.0.0.1:8000/

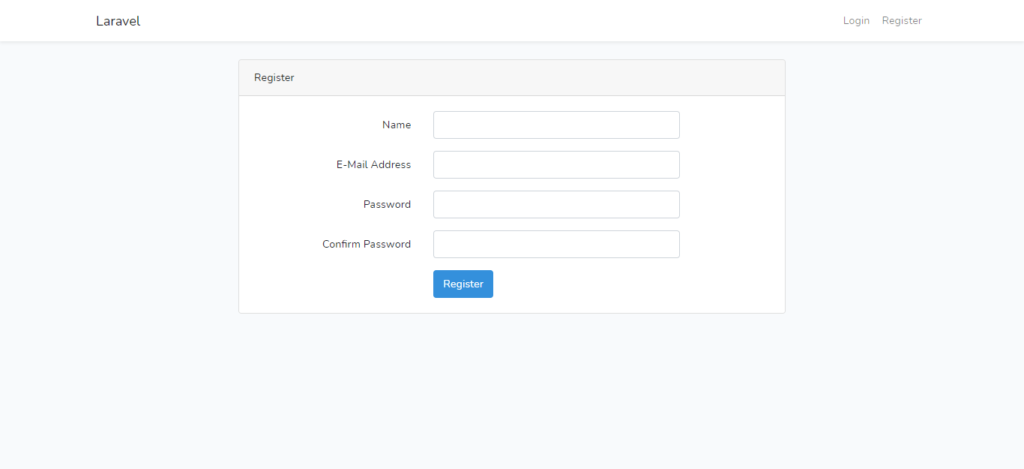
Now click on register and create one account.
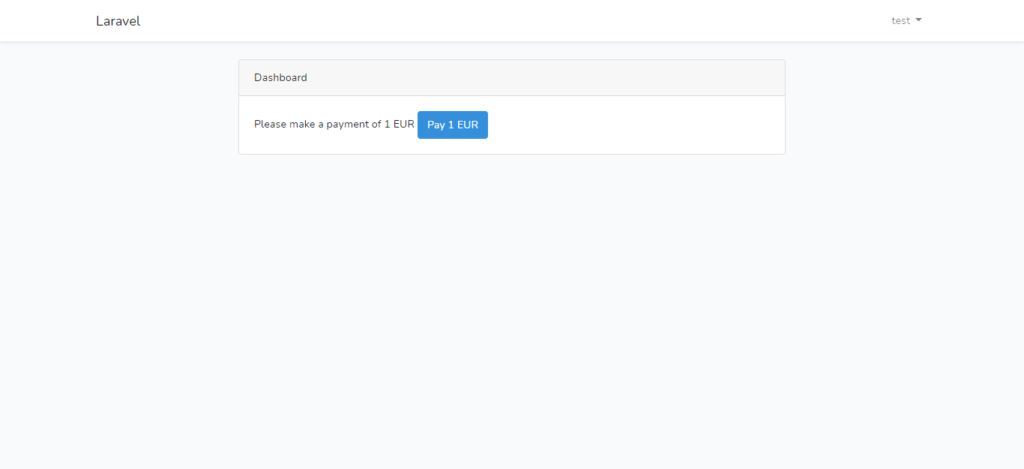
After logged in you have screen something like below now click on payment of 1 Eur here I am trying to capture user credit card to enable subscription.
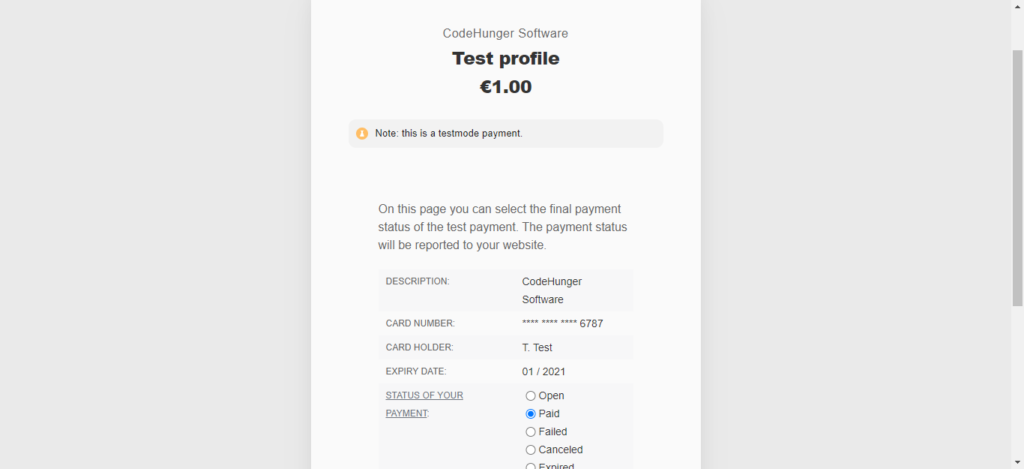
When you click on pay 1 EUR you will be redirected to mollie payment page, choose credit card and make payment.
After the payment subscription page has been enabled

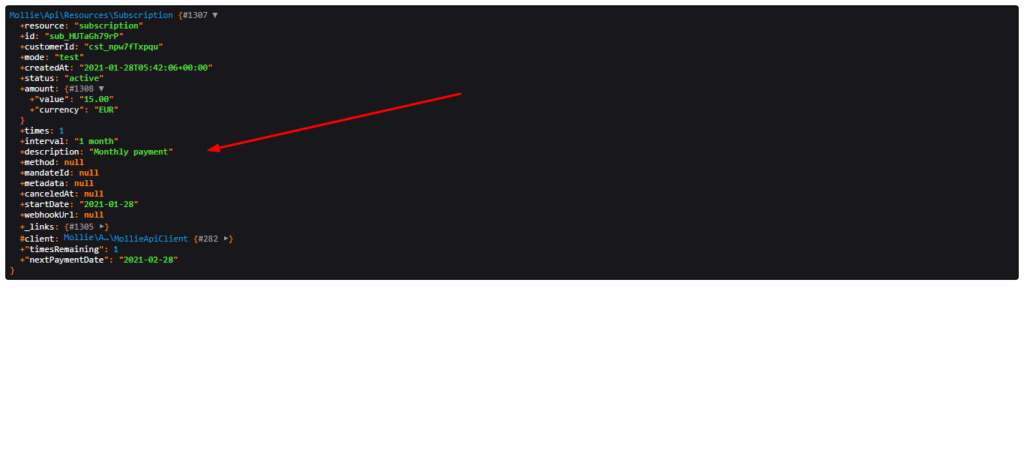
When you click on the get started you will get the response like something below, which means you are successfully subscribed to mollie.
Read Also: Razorpay Payment Gateway In Laravel 8
I hope you like the above article give me 5 stars so that I can keep posting.