In this post, I will show you how we can integrate Paykun Payment Gateway in Laravel 7 in an easy way.
What is Paykun?
Paykun is a payment gateway like the Stripe, Paytm, Paypal, etc. It is a simple and secure digital payment solution created to help India-based professionals, businesses, and organizations to accept payments online.
Features of Paykun
- Fast Onboarding means less paperwork and easy approval
- No fee on failed transaction
- Smart Analytics
- Fast Settlement
- Dynamic Notifications
- Robust Security
- Multiple Access User
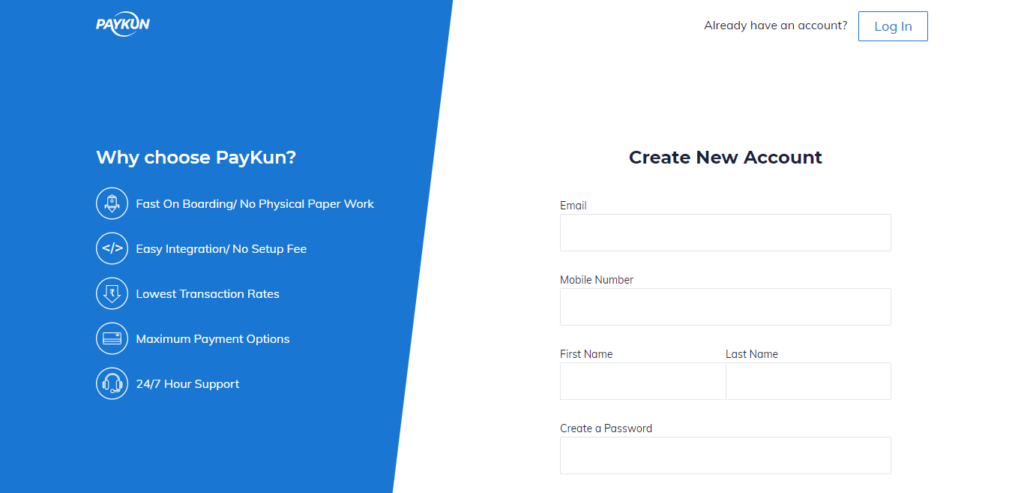
Why Paykun?
- Free Integration services provide
- No Paper Work
- No Setup Fees
- 24/7 Hour Support
- Lowest Transaction Rates
To integrate Paykun Payment Gateway in your Laravel project just follow the below steps.
Step – 1 Create an account on https://dashboard.paykun.com/register
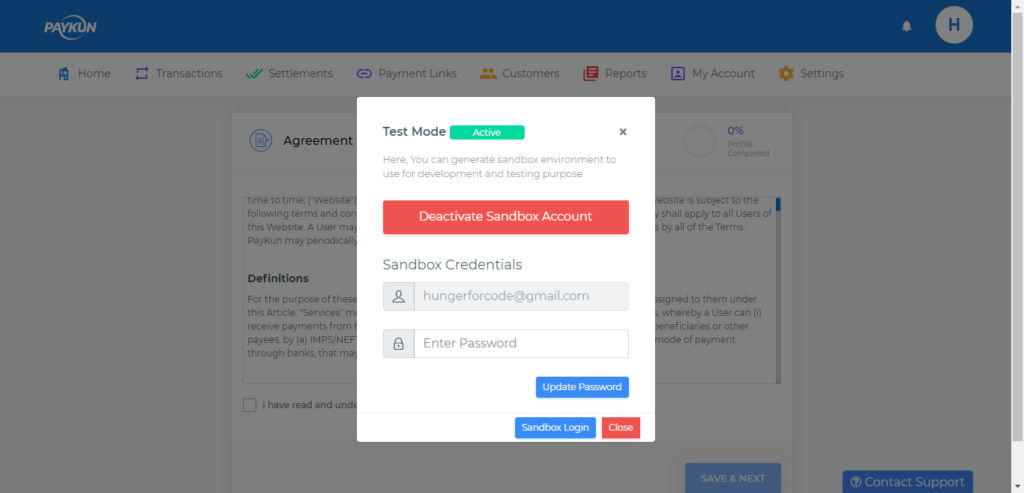
Step – 2 Login to your account by using your credentials. Now you have to activate your test mode in order to test Paykun Payment in the sandbox environment. To activate your sandbox mode you have to click on the top right on your profile where you see test mode, click on test mode create your sandbox credentials.

Step – 3 Create sandbox credentials and login to your Paykun sandbox mode, After sandbox credentials creation you login by clicking on this link https://sandbox.paykun.com/dashboard/login

Step – 4 In order to integrate paykun in our Laravel we need following things from the paykun website
- Merchant Id
- Access Token
- API Secret Key
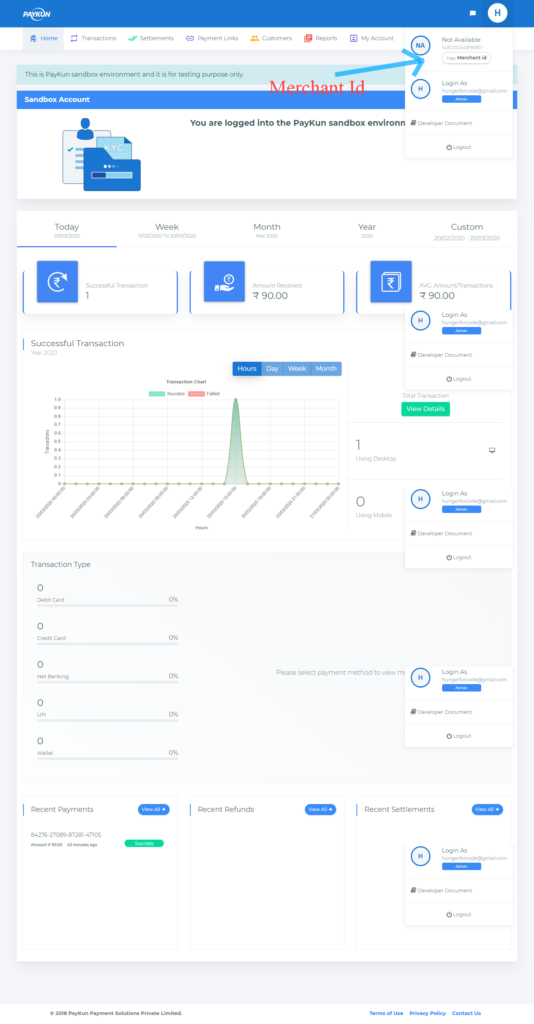
To get your merchant Id, you just have to click on your profile in the right sidebar you see the option for copy merchant Id copy it and save it to the safe place we will use it later.
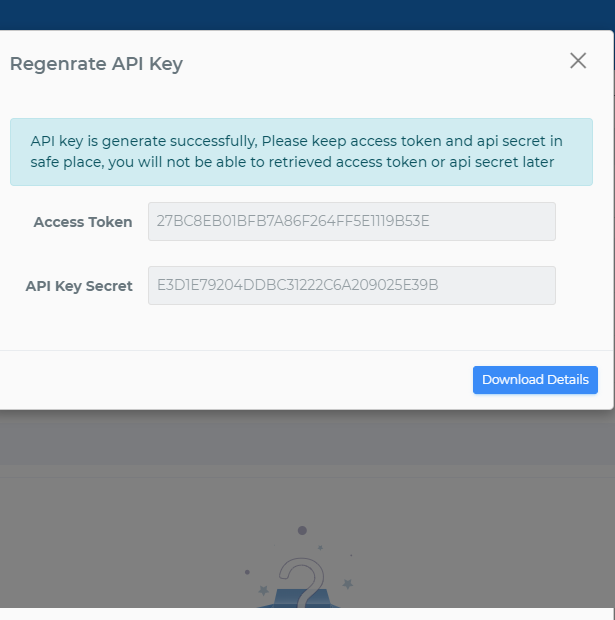
To get your access token and API secret key click on settings then click on the security tab where you can see the option to generate the API key. Download your API key we will use it later.
Step – 5 Install Paykun in your Larvel project, we will install it via composer just copy the below code
composer require paykun/checkout
Step – 6 Create routes in your web.php file like below
Route::get('paykun-payment','PaykunController@pay');
Route::get('paykun-payment-success','PaykunController@success')->name('paykun.payment.success');
Route::get('paykun-payment-fail','PaykunController@fail')->name('paykun.payment.failed');
Step – 7 Create Controller by using below command
php artisan make:controller Paykuncontroller
Step – 8 Just Put the below command in your controller
<?php

namespace App\Http\Controllers;

use Paykun\Checkout\Payment;

class PaykunController extends Controller
{
    protected $MerchantId;
    protected $AccessToken;
    protected $APIsecretKey;
    protected $LiveStatus;

    public function  __construct() {

        $this->MerchantId = '148025240898167';
        $this->AccessToken = 'A7C4F8B22748C065AC990BC9418FDE1E';
        $this->APIsecretKey = '3CA6B78170E85D98CD147B539FD2C1EE';
        $this->LiveStatus = 'false';
    }

    /**
     * Method to generate paykun payment
     */
    public function Pay() {
          $obj = new Payment($this->MerchantId,$this->AccessToken, $this->APIsecretKey, $this->LiveStatus);

        // Initializing Order
          $obj->initOrder('ORD2012256', 'DVD', '90', route('paykun.payment.success'),  route('paykun.payment.failed'));

          // Add Customer
          $obj->addCustomer('demo customer', 'customer123@gmail.com', '7277407745');

          // Add Shipping address
          $obj->addShippingAddress('india', 'bihar', 'patna', '800008', 'patna city');

          // Add Billing Address
          $obj->addBillingAddress('india', 'bihar', 'patna', '800008', 'patna city');
            // dd($obj);
          echo $obj->submit();
    }

    /**
     * After the successfull payment redirect here
     */
    public function successs() {
        echo 'payment successfully done';
    }

    /**
     * After the payment fail redirect here
     */
    public function fail() {
        echo 'payment failed';
    }
}
Step – 9 Enter the below URL and press enter you will be redirected to your Paykun Payment Gateway Page.
http://localhost/paykun/public/paykun-payment
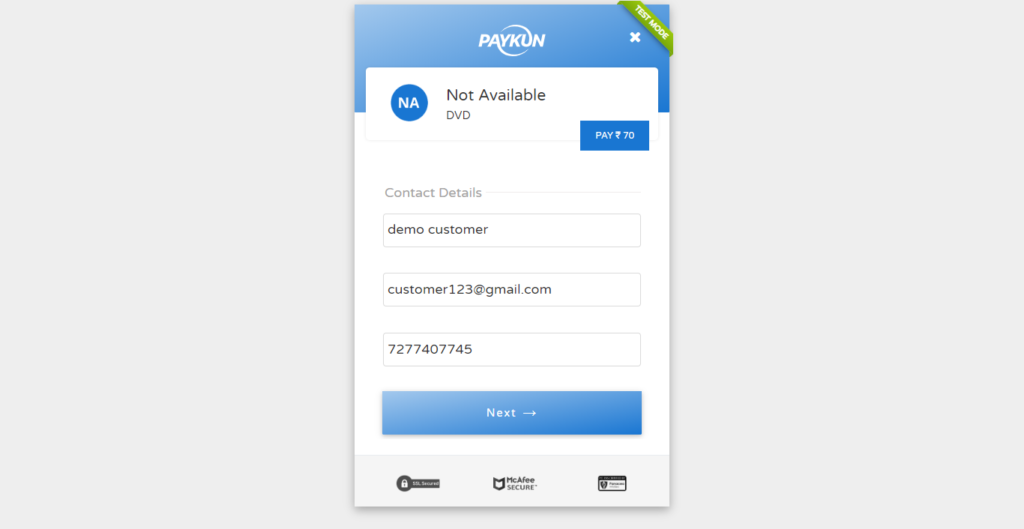
Step – 9 click on the next, you can many payment options like Bhim, Credit card, Debit card etc.
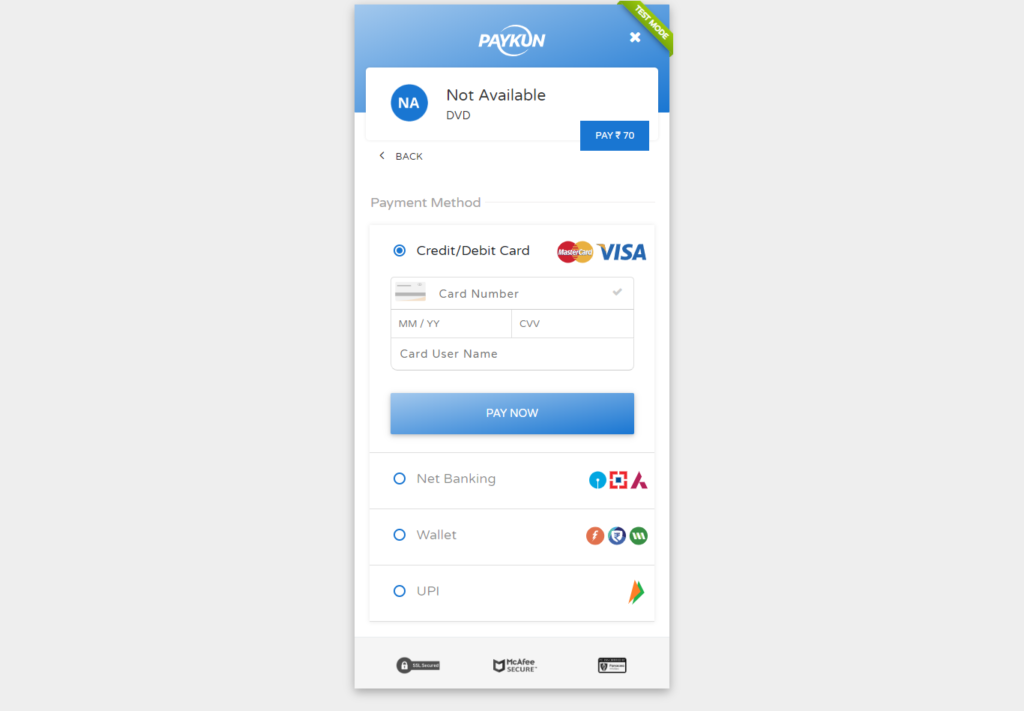
You can demo card detail like below and press enter
Card Number - 4242 4242 4242 4242
Exipiry date - 12/24
cvv - 123
card user name - demo
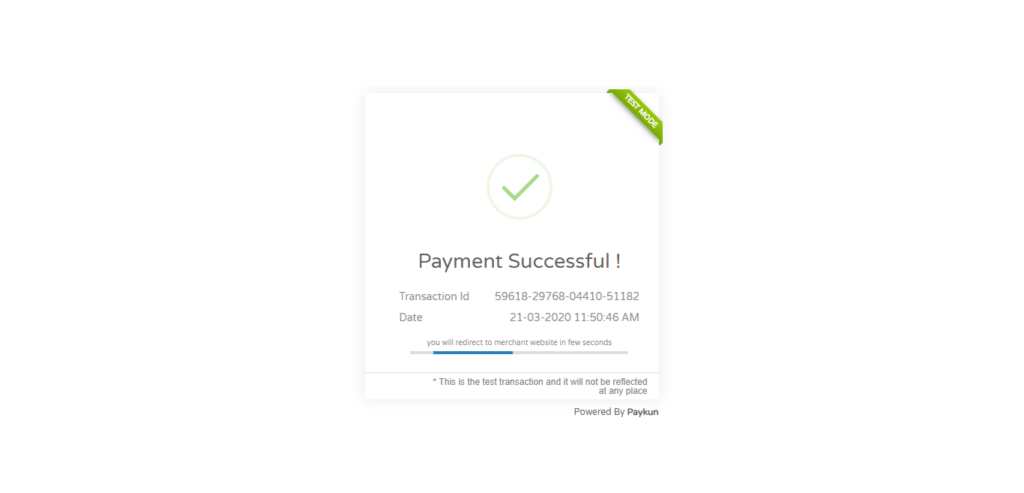
After entering the above details click on pay now you will see the below page click on success for the successful transaction.

After clicking on the success you can see the below page, then you will be redirected to your payment success page.
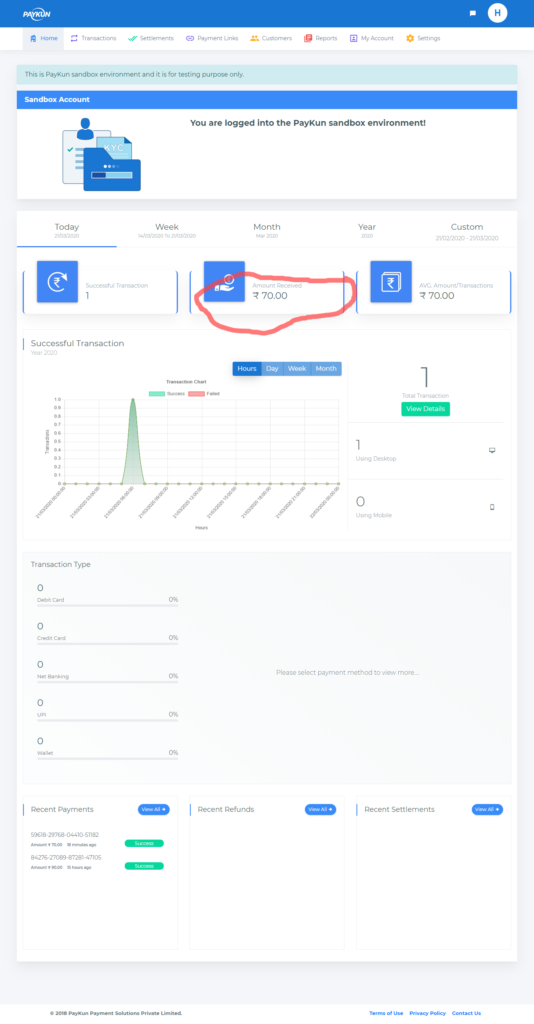
Step – 10 Now login to your paykun sandbox dashboard https://sandbox.paykun.com/dashboard/login to check you receive the payment or not.