In this tutorial, we will focus on angular form validation on the submitted example. step by step explains angular reactive form show error on submit. you will learn how to show errors in submitting in angular. This post will give you a simple example of show form errors on submitting in angular. Alright, let’s dive into the steps.
Here, i will show how to display errors on submit in angular 6, angular 7, angular 8 and angular 9 application.
I will give you a very simple example of show error message on submit in angular. bellow simple solution:
<div *ngIf="form.get('name').hasError('required') && myform.submitted" class='alert alert-danger'>

Name is required

</div>
Now we will see full example then you can understand how it works. let’s see bellow:
Import FormsModule:
src/app/app.module.ts
import { NgModule } from '@angular/core';
import { BrowserModule } from '@angular/platform-browser';
import { FormsModule, ReactiveFormsModule } from '@angular/forms';

import { AppComponent } from './app.component';

@NgModule({
  imports:      [ BrowserModule, FormsModule, ReactiveFormsModule ],
  declarations: [ AppComponent ],
  bootstrap:    [ AppComponent ]
})
export class AppModule { }
Template Code:
In this step, we will write code of html form with ngModel. so add following code to app.component.html file.
I used bootstrap class on this form.
src/app/app.component.html
<div class="container">
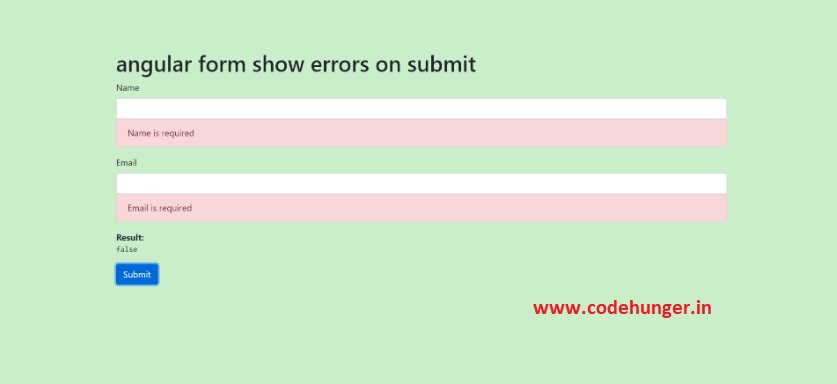
<h1>angular form show errors on submit - ItSolutionStuff.com</h1>
<form [formGroup]="form" (ngSubmit)="submit()" #myform="ngForm">
<div class="form-group">
<label for="name">Name</label>
<input
formControlName="name"
id="name"
type="text"
class="form-control">
<div *ngIf="form.get('name').hasError('required') && myform.submitted" class='alert alert-danger'>Name is required</div>
</div>
<div class="form-group">
<label for="email">Email</label>
<input
formControlName="email"
id="email"
type="text"
class="form-control">
<div *ngIf="form.get('email').hasError('required') && myform.submitted" class='alert alert-danger'>Email is required</div>
<div *ngIf="form.get('email').hasError('email') && myform.submitted" class='alert alert-danger'>Please enter valid email.</div>
</div>
<button class="btn btn-primary" type="submit">Submit</button>
</form>
</div>updated Ts File
src/app/app.component.ts
import { Component } from '@angular/core';
import { FormGroup, FormControl, Validators} from '@angular/forms';

@Component({
  selector: 'my-app',
  templateUrl: './app.component.html',
  styleUrls: [ './app.component.css' ]
})
export class AppComponent  {
  name = 'Angular';

   form = new FormGroup({
    name: new FormControl('', [Validators.required, Validators.minLength(3)]),
    email: new FormControl('', [Validators.required, Validators.email])
  });

  submit(){
    console.log(this.form.valid);

    if(this.form.valid){
      console.log(this.form.value);
    }
  }
}
Now you can run your application using following command:
ng serveOutput
true

{name: "codehunger", email: "codehunger@gmail.com"}
Let’s see bellow layout: