This tutorial shows you how to build an ASP.NET Core app that enables users to log in using OAuth 2.0 with credentials from an external authentication provider Facebook.
Create a New ASP.NET Core Project
In Visual Studio, create a New Project (from the Start Page, or via File > New > Project)
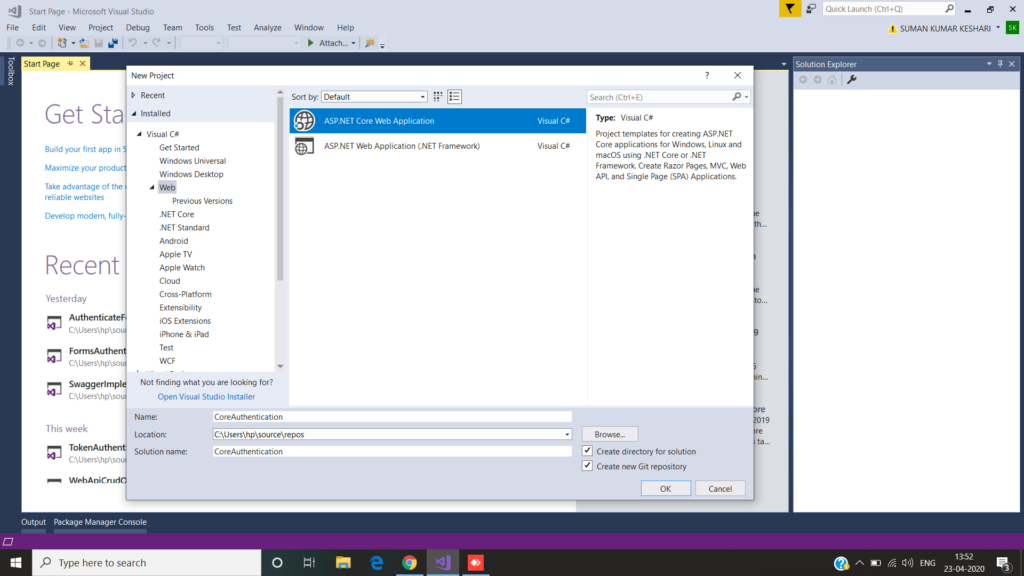
Tap Web Application and verify Authentication is set to Individual User Accounts

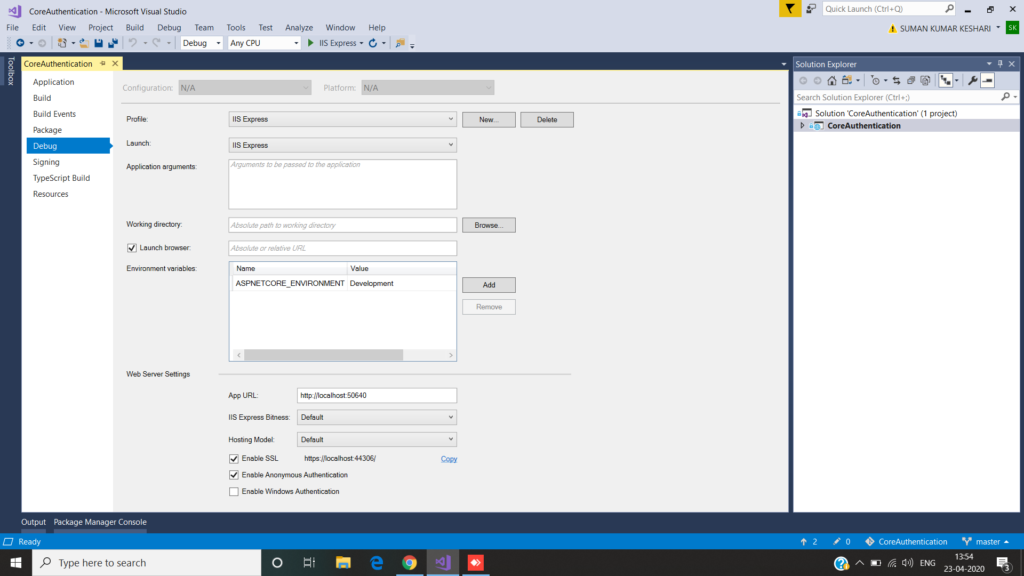
For enable SSL go to solution explorer, right click the project and select Properties
On the left pane, tap Debug
Check Enable SSL
Copy the SSL URL and paste it into the App URL
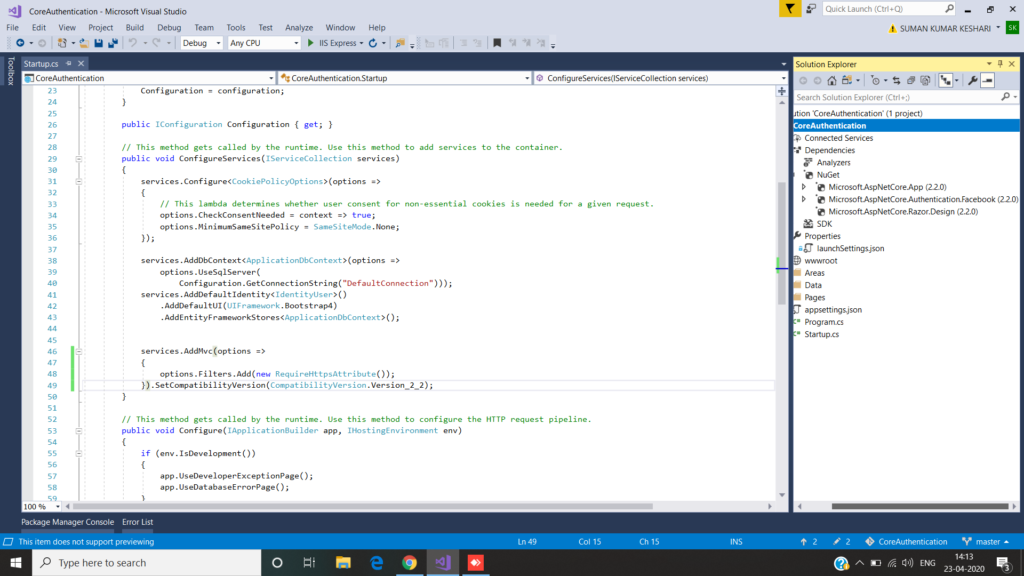
Modify the services.AddMvc(); code in Startup under ConfigureServices:

services.AddMvc(options =>
{
options.Filters.Add(new RequireHttpsAttribute());
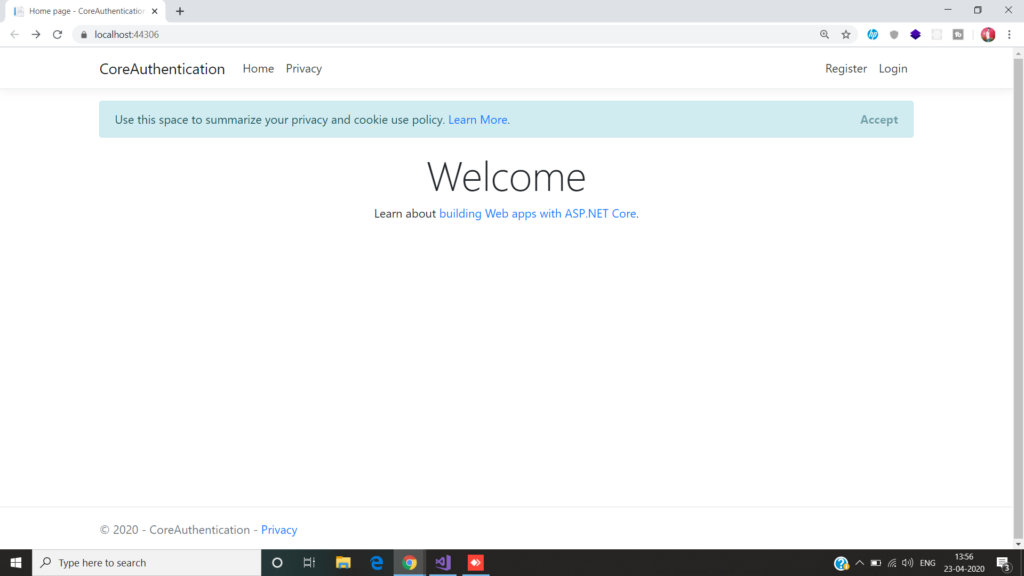
}).SetCompatibilityVersion(CompatibilityVersion.Version_2_2);Now Run the App.
After that we have to go to the https://developers.facebook.com/apps and log in.
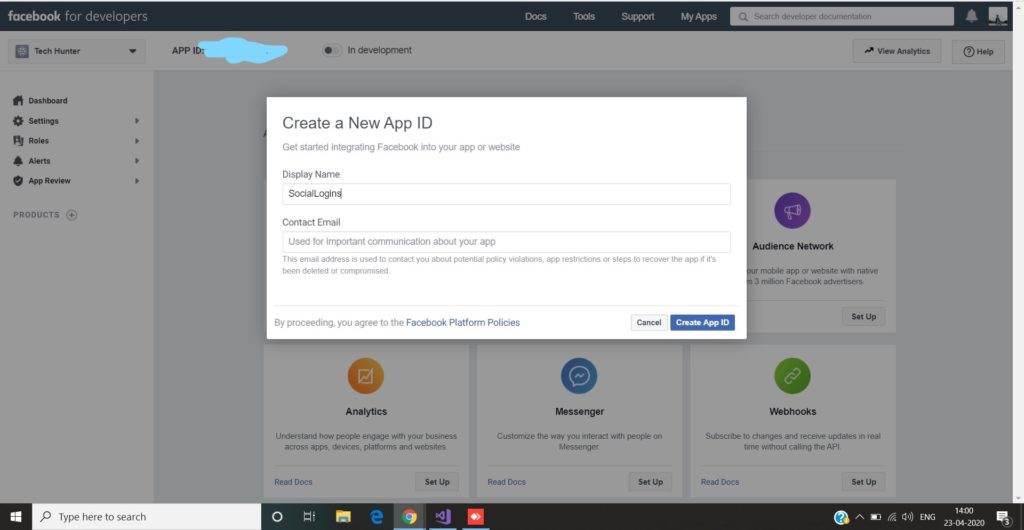
If you aren’t already registered as a Facebook developer, click Register as a Developer and then create a New App ID and give a proper name like below image.
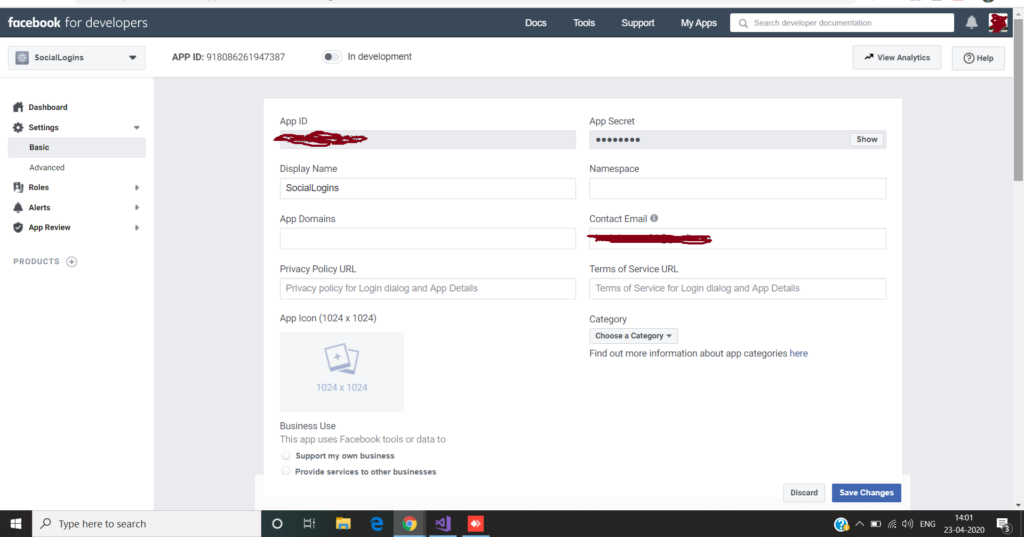
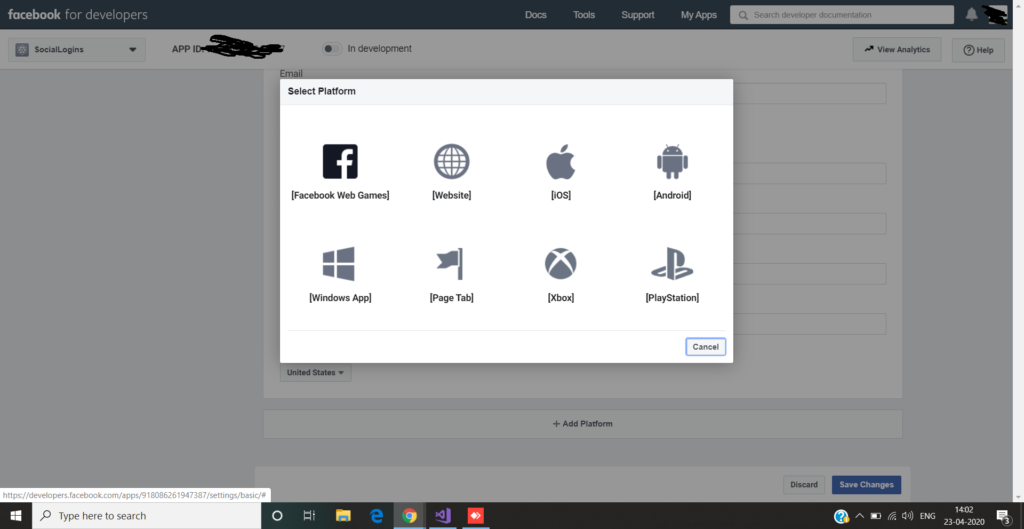
Then go to the settings which is present in the sidebar. Then choose the Basic Options. On the Basic settings section of the page select Add Platform to specify that you are adding a website app.
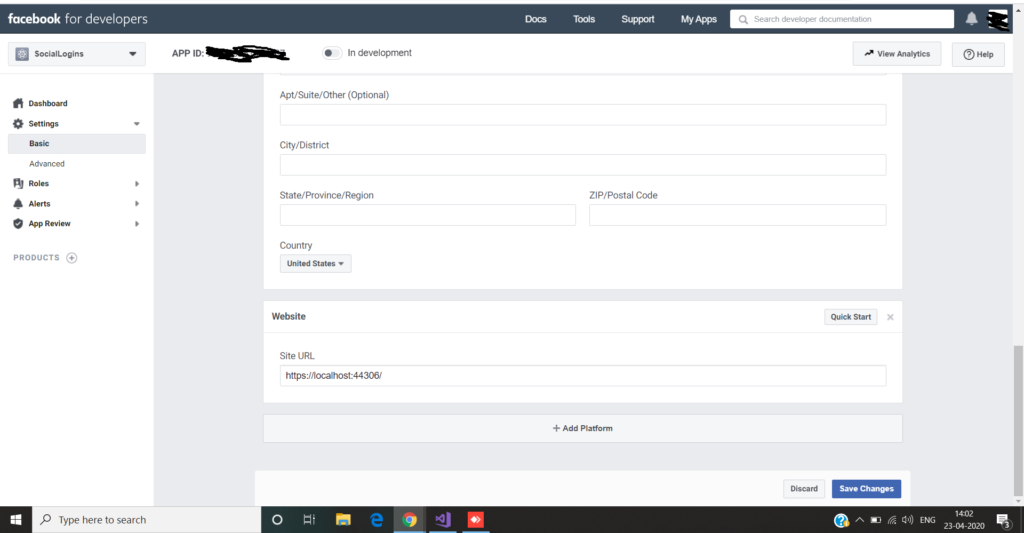
- Add your Site URL (https://localhost:51792/)
- Make a note of your App ID and your App Secret so that you can add both into your ASP.NET Core app later in this tutorial. Also, Add your Site URL (https://localhost:51792/) to test your application.
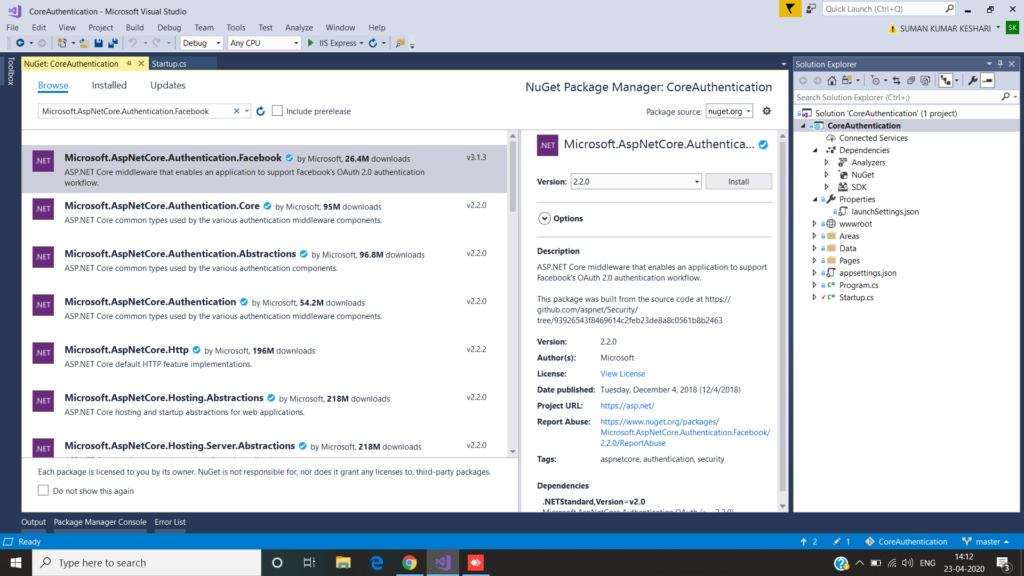
After that install Microsoft.AspNetCore.Authentication.Facebook from Nuget Package if not installed in your project.
Then add the following code in the Configuration method in the StartUp.cs
 services.AddAuthentication().AddFacebook(facebookOptions =>
            {
                facebookOptions.AppId = Configuration["Authentication:Facebook:AppId"];
                facebookOptions.AppSecret = Configuration["Authentication:Facebook:AppSecret"];
            });
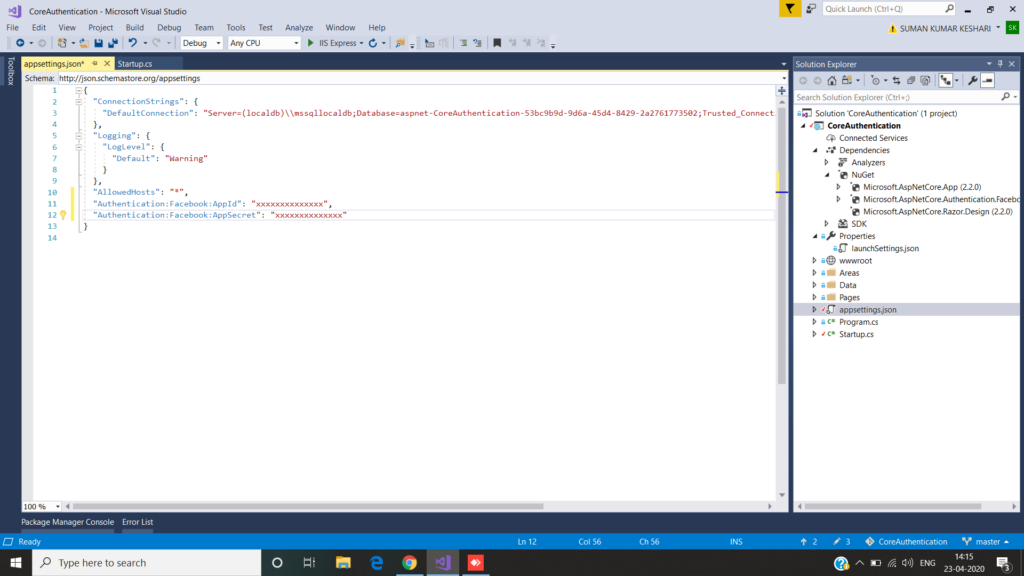
And add the ClientId and Secret Key in the appsetting.json file.
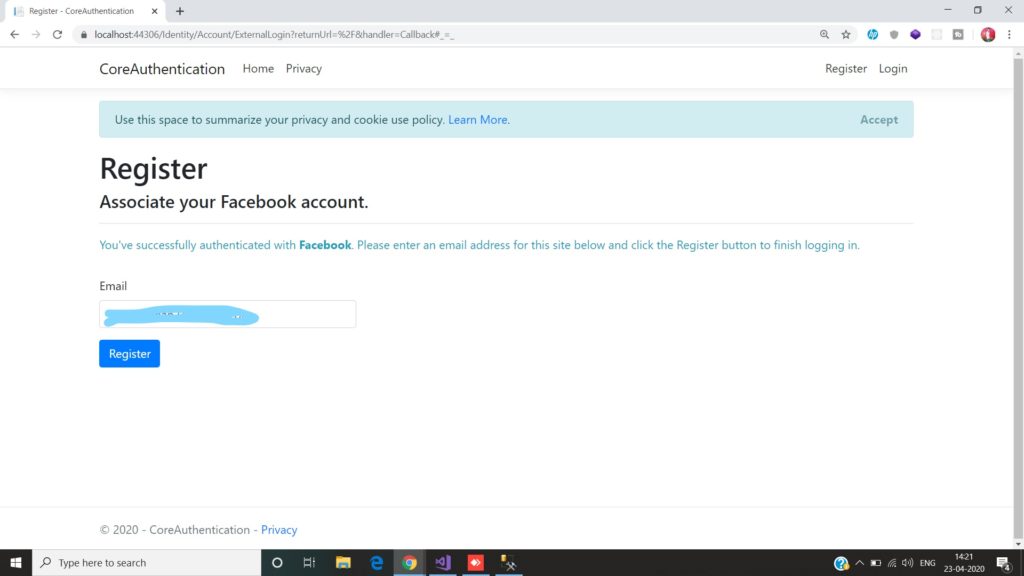
After that run the project where you easily see that a facebook button is automatically visible in the login page.
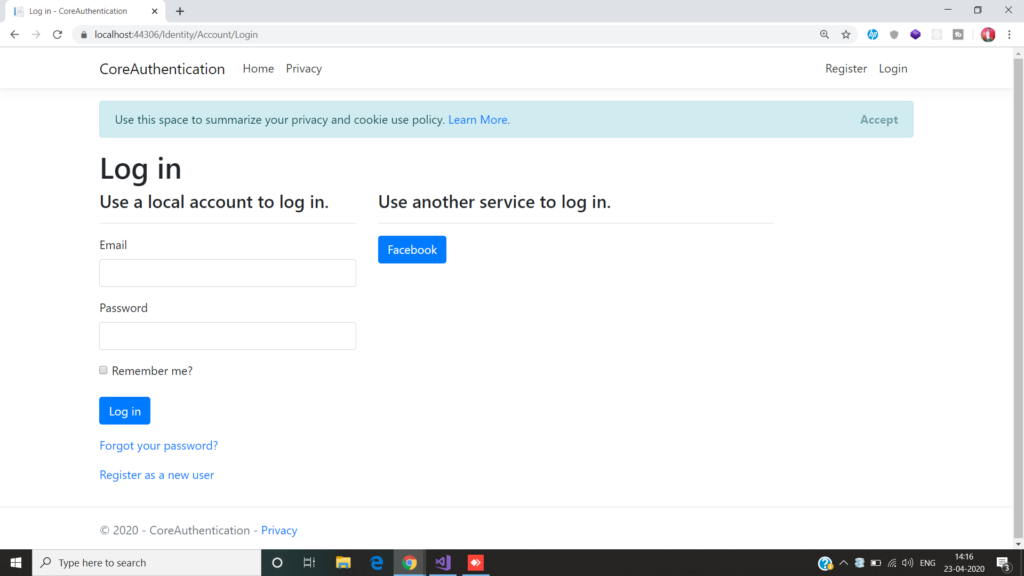
Then click on that button and it will first register your emailid only for the first tine after that you can freely login into this appkication through Facebook.
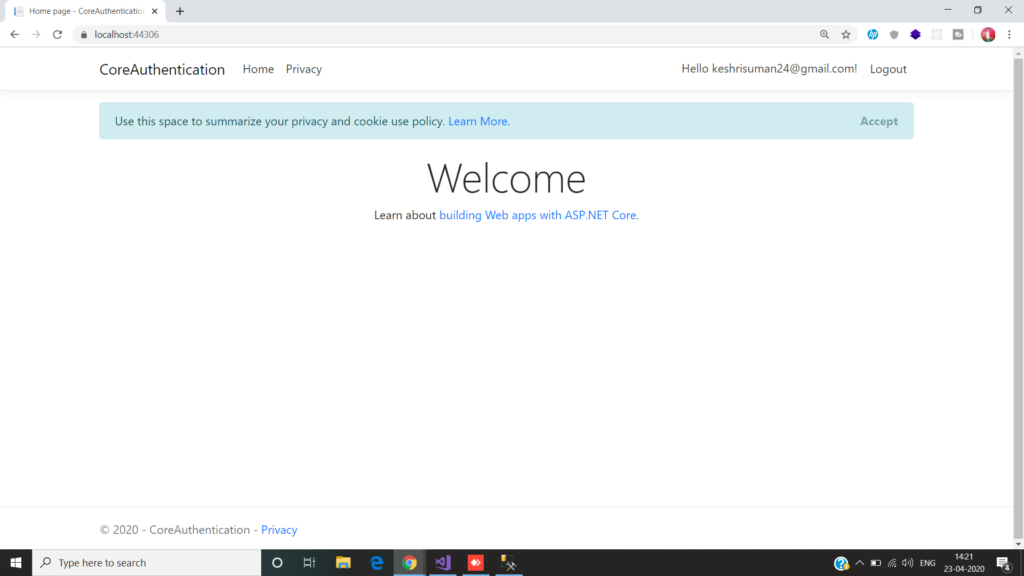
We have successfully created and configured Facebook and used it to authenticate our ASP.NET Core application.