
In this post, I will show you how we can integrate JWT Authentication in our Asp.Net Web API.
JWT (JSON web token) has become more and more popular in web development. It is an open standard which allows transmitting data between parties as a JSON object in a secure and compact way. The data transmitting using JWT between parties are digitally signed so that it can be easily verified and trusted.
The modern approach for authenticating a user is through token based authentication scheme. It relies on signed tokens which are sent by user to server with each request. It is becoming very popular because it naturally blends with stateless Web APIs and other REST services.Apart from being stateless, few other benefits of this approach are:
- Easy scalability
- Minimum need for managing server state
- Streamlined and decoupled authenticating services
- Protection against CSRF attacks
What is JWT?
JSON Web Token (JWT) is the approach of securely transmitting data across communication channel. For authentication and authorization, it uses the technique of passing digitally signed tokens. JWT comprises of three parts: Header, Payloads and Signature.
Header is used to identity the signing algorithm used and it appears like:
{ “alg”: “HS256”, “typ”: “JWT”}
Payload looks like:
{ “Name”: “Code Hunger”,”Admin”: “true”,”iat”: “13974647”}
The signature is created by Base64 encoding Header and Payload as:
data = encoded( Header ) + “.” + encoded( Payload )
signature = HMACSHA256 (data, secret key);
JWT in Theory
JWT authentication process can be broken into following 4 steps-
1) User is validated against database and claims are generated based on user’s role.
2) Payload containing claims or other user related data is signed with key to generate token and passed back to user.
3) User sends this token with each request, normally in header or cookies and then received token is decrypted to validate claim.
4) Once user is identified, User is allowed to access Resource server based on his claim.
Advantage of Token based authentication paradigm is that instead of storing authentication or authorization related information linked to every user in session, a single signing key is stored at the authorizing server/service. Task of Authorization can be delegated to any server making it completely decoupled. Users are identified by verifying the claims which was generated in the first step based on his/her permission. Claims can be trusted because it was generated by server in the first step and then was digitally signed using one of the algorithm like HMAC SHA256. It is also assured that rights or claims has not been tampered with.
Unique thing here which saves lots of memory and adds to scalability is that only one key is required at server for decrypting the token and identifying the user, no matter what number of users it supports.
After identification is done, identity should persist for the current user throughout the request. This is where every implementation may differ. Next section covers all the four steps involved while using JWT token with ASP.NET Web API.
Implementing JWT
Now we are going to implement the JWT Token in the Asp.Net core web api.
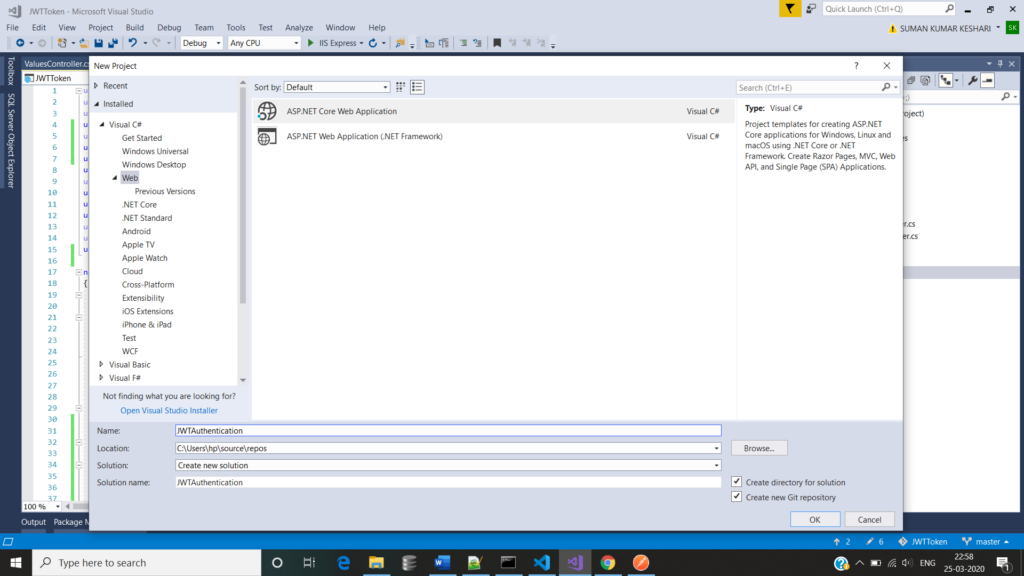
- First we have to add a Asp.Net Core Web API project in the Visual Studio.

The first step is to configure JWT based authentication in our project. To do this, we need to register a JWT authentication schema by using “AddAuthentication” method and specifying JwtBearerDefaults.AuthenticationScheme. Here, we configure the authentication schema with JWT bearer options.
using System;
using System.Collections.Generic;
using System.Linq;
using System.Text;
using System.Threading.Tasks;
using Microsoft.AspNetCore.Authentication.JwtBearer;
using Microsoft.AspNetCore.Builder;
using Microsoft.AspNetCore.Hosting;
using Microsoft.AspNetCore.HttpsPolicy;
using Microsoft.AspNetCore.Mvc;
using Microsoft.Extensions.Configuration;
using Microsoft.Extensions.DependencyInjection;
using Microsoft.Extensions.Logging;
using Microsoft.Extensions.Options;
using Microsoft.IdentityModel.Tokens;

namespace JWTToken
{
    public class Startup
    {
        public Startup(IConfiguration configuration)
        {
            Configuration = configuration;
        }

        public IConfiguration Configuration { get; }

        // This method gets called by the runtime. Use this method to add services to the container.
        public void ConfigureServices(IServiceCollection services)
        {
            services.AddAuthentication(JwtBearerDefaults.AuthenticationScheme)
    .AddJwtBearer(options =>
    {
        options.TokenValidationParameters = new TokenValidationParameters
        {
            ValidateIssuer = true,
            ValidateAudience = true,
            ValidateLifetime = true,
            ValidateIssuerSigningKey = true,
            ValidIssuer = Configuration["Jwt:Issuer"],
            ValidAudience = Configuration["Jwt:Issuer"],
            IssuerSigningKey = new SymmetricSecurityKey(Encoding.UTF8.GetBytes(Configuration["Jwt:Key"]))
        };
        });
            services.AddMvc().SetCompatibilityVersion(CompatibilityVersion.Version_2_2);
        }

        // This method gets called by the runtime. Use this method to configure the HTTP request pipeline.
        public void Configure(IApplicationBuilder app, IHostingEnvironment env)
        {
            if (env.IsDevelopment())
            {
                app.UseDeveloperExceptionPage();
            }
            else
            {
                // The default HSTS value is 30 days. You may want to change this for production scenarios, see https://aka.ms/aspnetcore-hsts.
                app.UseHsts();
            }

            app.UseHttpsRedirection();
            app.UseAuthentication();
            app.UseMvc();
        }
    }
}
- Validate the server (ValidateIssuer = true) that generates the token.
- Validate the recipient of token is authorized to receive (ValidateAudience = true)
- Check if token is not expired and the signing key of the issuer is valid (ValidateLifetime = true)
- Validate signature of the token (ValidateIssuerSigningKey = true)
- Additionally, we specify the values for the issuer, audience, signing key. In this example, I have stored these values in appsettings.json file.
{
    "Jwt": {
      "Key": "My Secret Key",
      "Issuer": "codehunger.in"
    },
  "Logging": {
    "LogLevel": {
      "Default": "Warning"
    }
  },
  "AllowedHosts": "*"
}
The above mentioned steps are used to configure JWT based authentication service. The next step is to make the authentication service is available to the application. To do this, we need to call app.UseAuthentication() method in the Configure method of startup class. The UseAuthentication method is called before UseMvc method.I have already written the code above in StartUp.cs.
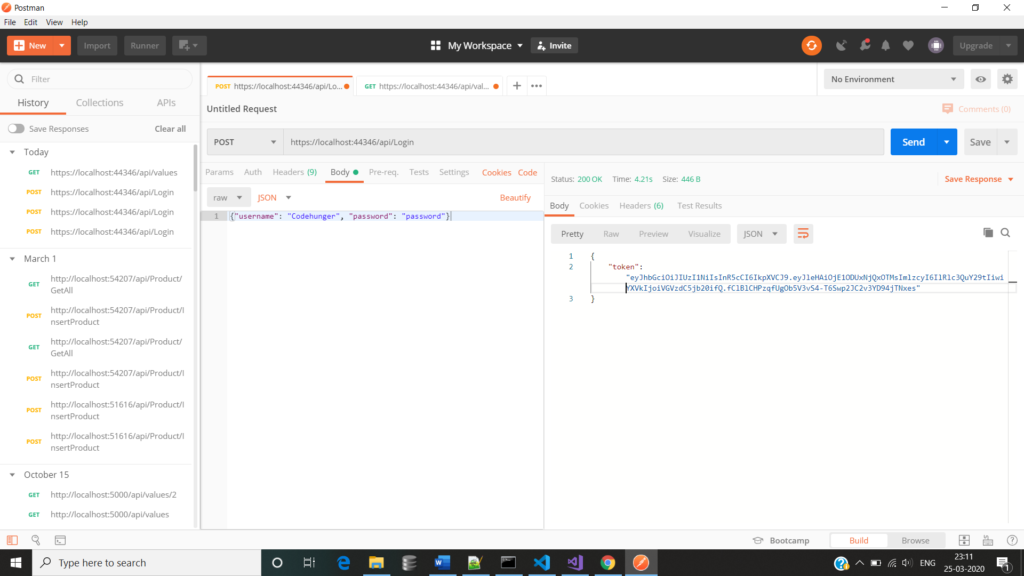
I have created a LoginController and Login method to generate the JWT and have AllowAnonymous attribute .This method takes the Usermodel object for Username and Password.I have created “AuthenticateUser” method, that is responsible to validate the user credential and returns to the UserModel. For this post I have returned hardcoded model. If “AuthenticateUser” method returns user model, API generates the new token by using “GenerateJSONWebToken” method. Here, I have created a JWT using the JwtSecurityToken class. I have created an object of this class by passing some parameter to the constructor such as issuer, audience, expiration, and signature.
Finally, JwtSecurityTokenHandler.WriteToken method is used to generate the JWT. This method expects object of JwtSecurityToken class.
using Microsoft.AspNetCore.Authorization;
using Microsoft.AspNetCore.Mvc;
using Microsoft.Extensions.Configuration;
using Microsoft.IdentityModel.Tokens;
using System;
using System.IdentityModel.Tokens.Jwt;
using System.Security.Claims;
using System.Text;

namespace JWTToken.Controllers
{
    [Route("api/[controller]")]
    [ApiController]
    public class LoginController : ControllerBase
    {
        private IConfiguration _config;

        public LoginController(IConfiguration config)
        {
            _config = config;
        }
        [AllowAnonymous]
        [HttpPost]
        public IActionResult Login([FromBody]UserModel login)
        {
            IActionResult response = Unauthorized();
            var user = AuthenticateUser(login);

            if (user != null)
            {
                var tokenString = GenerateJSONWebToken(user);
                response = Ok(new { token = tokenString });
            }

            return response;
        }

        private string GenerateJSONWebToken(UserModel userInfo)
        {
            var securityKey = new SymmetricSecurityKey(Encoding.UTF8.GetBytes(_config["Jwt:Key"]));
            var credentials = new SigningCredentials(securityKey, SecurityAlgorithms.HmacSha256);
            var token = new JwtSecurityToken(_config["Jwt:Issuer"],
              _config["Jwt:Issuer"],
              null,
              expires: DateTime.Now.AddMinutes(120),
              signingCredentials: credentials);

            return new JwtSecurityTokenHandler().WriteToken(token);
        }

        private UserModel AuthenticateUser(UserModel login)
        {
            UserModel user = null;

            //Validate the User Credentials
            if (login.username == "Codehunger")
            {
                user = new UserModel { username = "CodeHunger", Email = "hungerforcode@gmail.com" };
            }
            return user;
        }
    }
}
If we run this Api in the postman we get the token like this.
And If we want to use that token in any action method then we have to pass that token in the Postman using Bearer Token like below image.
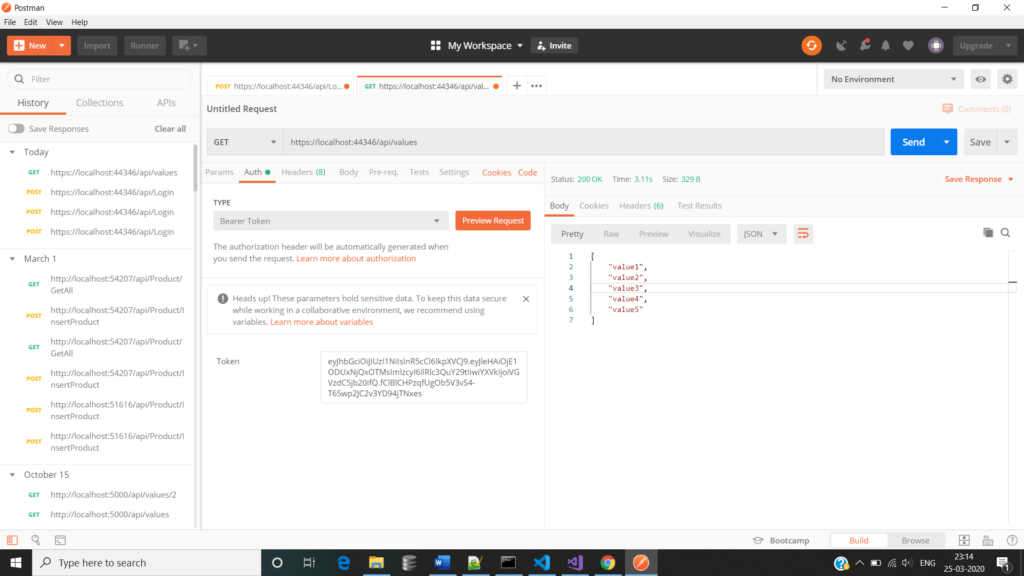
and we have use the Authorize attribute in the action method for validating the User.
 [Authorize]
        [HttpGet]
        public ActionResult<IEnumerable<string>> Get()
        {
            return new string[] { "value1", "value2", "value3", "value4", "value5" };
        }