Excel file import–export to the database is a very common functionality in any web application. so, in this article, I will share with you how to excel import-export to the database in laravel 8 application with example. if you never built an export-import excel file to the database in laravel application then don’t worry in this article I will show you steps by steps on how to export the import excel database in our laravel 8 application.
Laravel has many helpful packages for built many many functionalities. so, in this article, i will use maatwebsite/excel laravel package for built excel import-export functionality in our laravel 8 application.
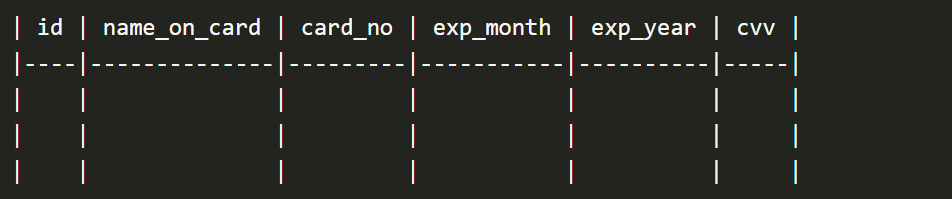
In this demo example e are create one transaction table and we are export this table data into excel or CSV files and also import excel file data from the database. our table looks like this.
Before implementing excel/CSV import-export functionality in laravel8 help of maatwebsite/excel package. check the following requirement.

Step – 1 : Package Installation
in the first step, we need to install the maatwebsite/excel package in our laravel 8 application.
composer require maatwebsite/excelAfter installing the package, open your Laravel config file located at config/app.php and add the following lines. “(it is optional for Laravel version >= 5.5)“
'providers' => [
/*
 *Package Service Providers...
 */
     Maatwebsite\Excel\ExcelServiceProvider::class,
 ]

'aliases' => [
   ...
   'Excel' => Maatwebsite\Excel\Facades\Excel::class,
 ]
then after publish the service provider running the following command in your terminal.
php artisan vendor:publish --provider="Maatwebsite\Excel\ExcelServiceProvider"This will create a new config file named “config/excel.php“. you can also change the default setting in this file and set new one options on your own requirements.
Step – 2 : Create Migrations
In this step, we need to create “transactions” table migration in our laravel 8 application using the following command in terminal.
php artisan make:migration create_transactions_tbl --create=transactionsthen open your created migration file into the “database/migrations” a folder and write the following code into it.
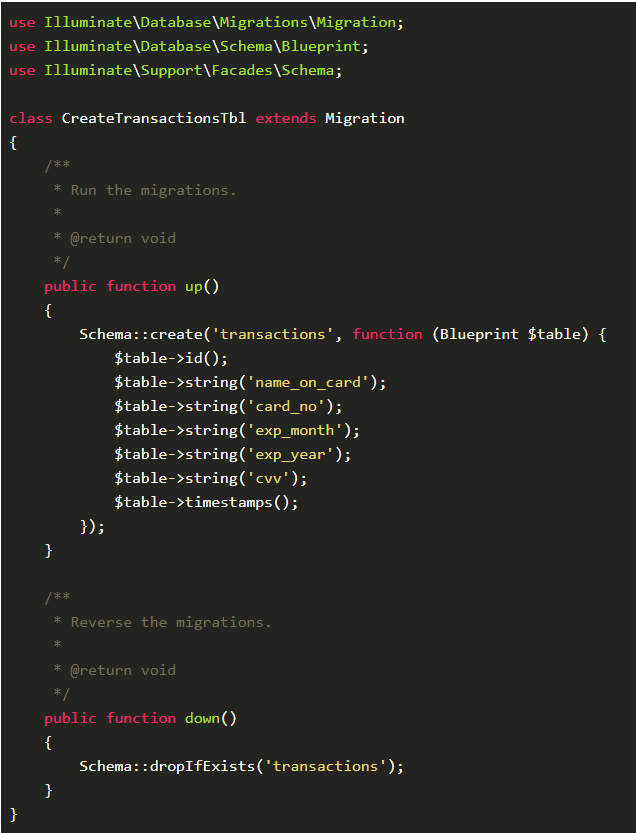
after done this run the “php artisan migrate” command in your terminal for the execute your created migration.
Step – 3 : Create Model
Now, we need to create “Transaction.php” model help of running the following command in the terminal.
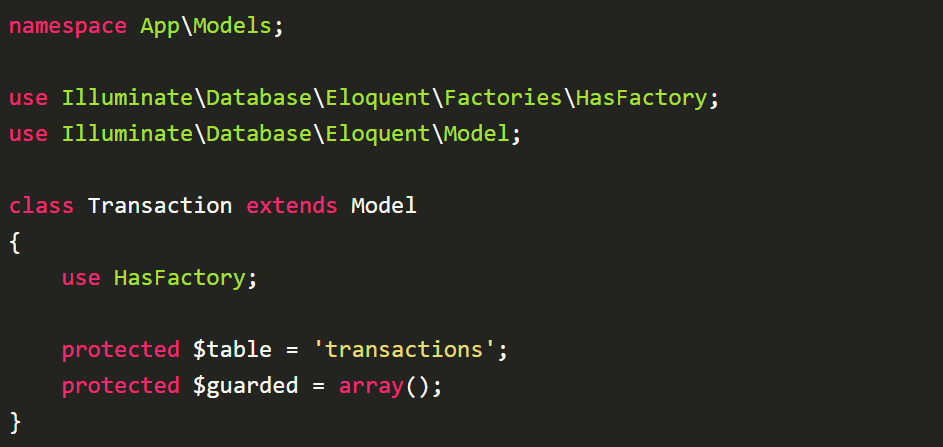
php artisan make:model Transactionafter running the above command in your terminal then “Transaction.php” file will be created in the “app/Models” folder.
app/Models/Transaction.php
Step – 4 : Create Route
now, create the following route in the “routes/web.php” file.
use Illuminate\Support\Facades\Route;
use App\Http\Controllers\ExcelController;

// Route for view/blade file. Route::get('importExportView'[ExcelController::class, 'importExportView'])->name('importExportView');

// Route for export/download tabledata to .csv, .xls or .xlsx
Route::get('exportExcel/{type}', [ExcelController::class, 'exportExcel'])->name('exportExcel');

// Route for import excel data to database.

Route::post('importExcel', [ExcelController::class, 'importExcel'])->name('importExcel');
Step – 5 : Create Import Class
maatwebsite provides a way to built import class and we have to use it in the controller. So it would be a great way to create a new Import class. So you have to run the following command and change the following code on that file:
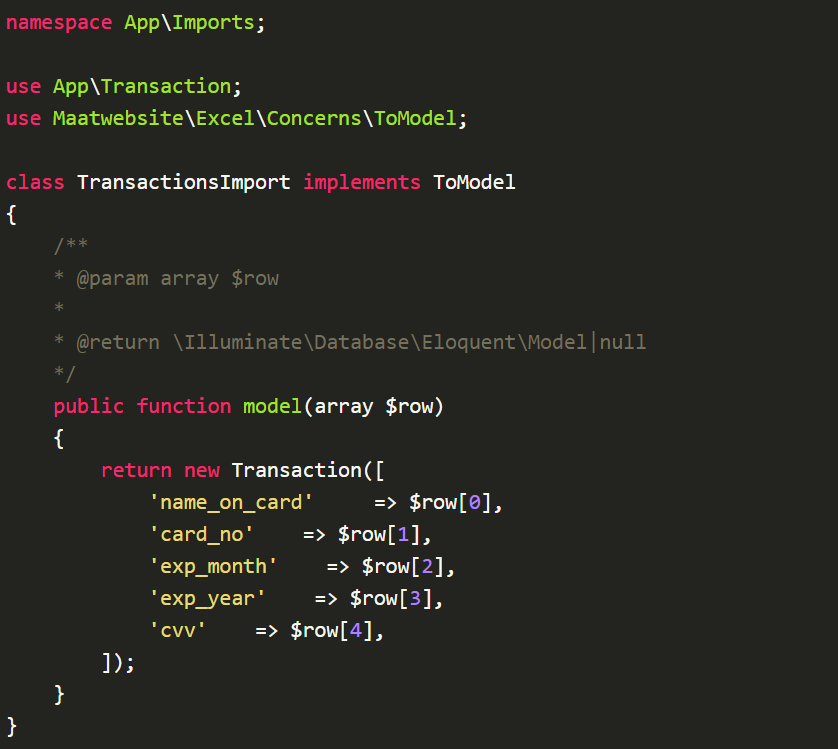
php artisan make:import TransactionsImport --model=TransactionExcel file demo screenshot
IMAGE
app/Imports/TransactionsImport.php
Step – 6 : Create Export Class
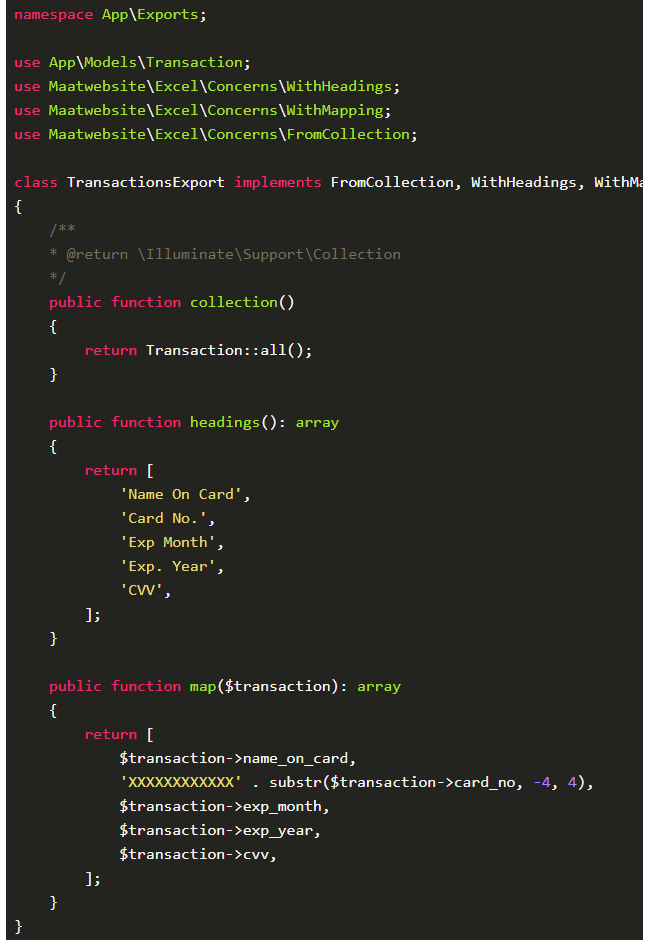
now we need to create Export class help of the following command in the terminal.
php artisan make:export TransactionsExport --model=Transactionapp/Exports/TransactionsExport.php
Step – 7 : Create Controller
Now, create the “ExcelController.php” file in the “app\Http\Controllers” folder using the following command run in your terminal.
php artisan make:controller ExcelControllerapp\Http\Controllers\ExcelController.php
namespace App\Http\Controllers;

use App\Models\Transaction;
use Illuminate\Http\Request;
use App\Exports\TransactionsExport;
use App\Imports\TransactionsImport;

class ExcelController extends Controller {

 /**
   * @return \Illuminate\Support\Collection
*/

public function importExportView()
{
 return view('excel.index');
}

 /**
  * @return \Illuminate\Support\Collection
*/
 public function exportExcel($type)
  {
    return \Excel::download(new TransactionsExport,  'transactions.'.$type);
}

 /**
 * @return \Illuminate\Support\Collection
*/
public function importExcel(Request $request)
{
\Excel::import(new TransactionsImport,$request->import_file);
\Session::put('success', 'Your file is imported successfully in database.');

return back();
}
}
Step – 8 : Create Blade File
into the last step, we will create one file “resources/views/excel/index.blade.php“ and write the following code into this file.
<!DOCTYPE html>
 <html>
  <head>
    <title>Laravel 8 Excel CSV Import/Export -  laravelcode.com
</title>
<link href="https://cdnjs.cloudflare.com/ajax/libs/twitter-bootstrap/4.0.0-alpha/css/bootstrap.css" rel="stylesheet">
</head>
<body>
  <div class="container" style="margin-top: 5rem;">

<h2 class="text-title">Import Export Excel/CSV - LaravelCode
</h2>
<a href="{{ route('exportExcel', 'xls') }}">
  <button class="btn btn-success">Download  Excel xls
    </button>
</a>

<a href="{{ route('exportExcel', 'xlsx') }}">
<button class="btn btn-success">Download Excel xlsx
</button>
</a>

<a href="{{ route('exportExcel', 'csv') }}">
 <button class="btn btn-success">Download CSV</button></a>

  <form style="border: 4px solid #a1a1a1;margin-top: 15px;padding: 10px;" action="{{ route('importExcel') }}" class="form-horizontal" method="post" enctype="multipart/form-data">
{{ csrf_field() }}
    <input type="file" name="import_file" />
              <button class="btn btn-primary">Import File</button>
</form>
</div>
</body>
</html>
Now your excel import-export functionality done. now just run your application using the following artisan command.
php artisan servenow, open the following URL in the browser.
http://localhost:8000/importExportViewI hope you like this article.