To distribute your Android application via Google Play store, you’ll need to generate a signed release APK. The Signing Your Applications page on Android Developers documentation describes the topic in detail. This guide covers the process in brief, as well as lists the steps required to packaging the JavaScript bundle.
Generating a signing key #
You can generate a private signing key using keytool.
keytool -genkey -v -keystore your-release-key-name.keystore -alias your-release-key-alias -keyalg RSA -keysize 2048 -validity 10000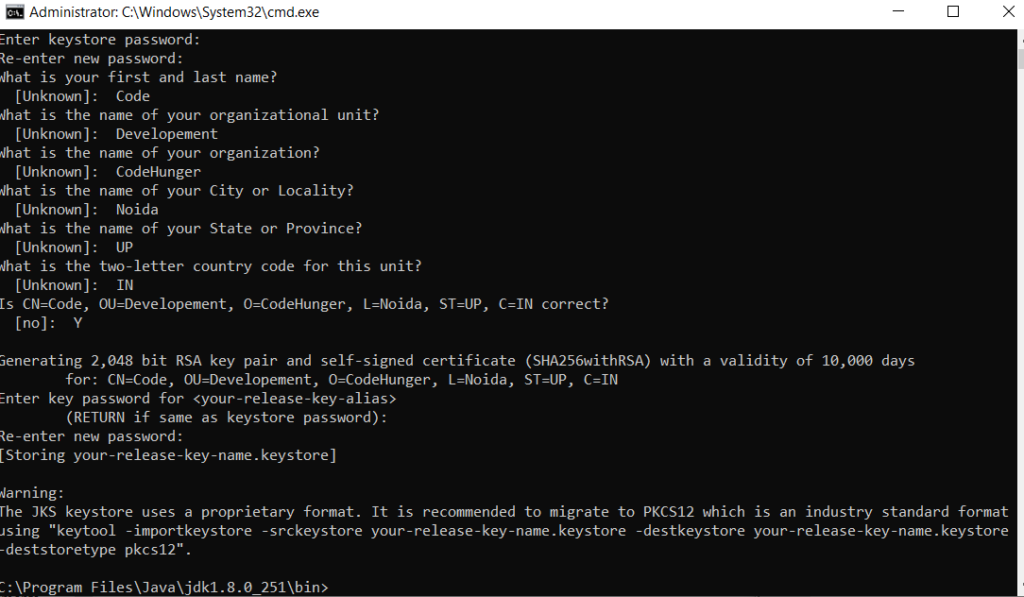
This command prompts you for passwords for the keystore and key, and to provide the Distinguished Name fields for your key. It then generates the keystore as a file called my-release-key.keystore.
The keystore contains a single key, valid for 10000 days. The alias is a name that you will use later when signing your app, so remember to take note of the alias.
Note: Remember to keep your keystore file private and never commit it to version control.
Setting up gradle variables
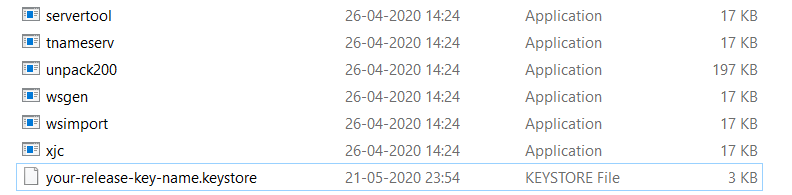
- Place the my-release-key.keystore file under the android/app directory in your project folder.
- Edit the file ~/.gradle/gradle.properties and add the following (replace * with the correct keystore password, alias and key password),

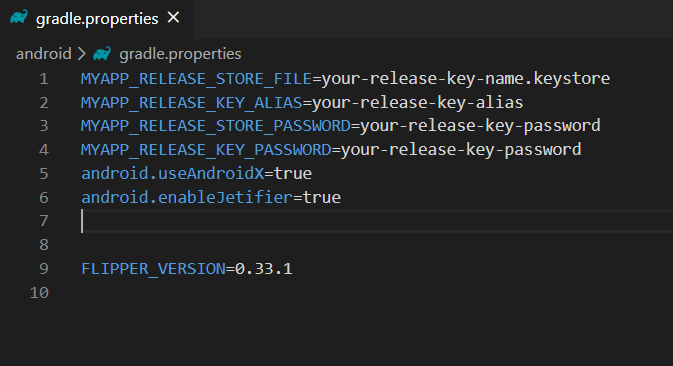
MYAPP_RELEASE_STORE_FILE=my-release-key.keystore
MYAPP_RELEASE_KEY_ALIAS=my-key-alias
MYAPP_RELEASE_STORE_PASSWORD=*****
MYAPP_RELEASE_KEY_PASSWORD=*****
These are going to be global gradle variables, which we can later use in our gradle config to sign our app.
Note: Once you publish the app on the Play Store, you will need to republish your app under a different package name (loosing all downloads and ratings) if you want to change the signing key at any point. So backup your keystore and don’t forget the passwords.
Adding signing config to your app’s gradle config
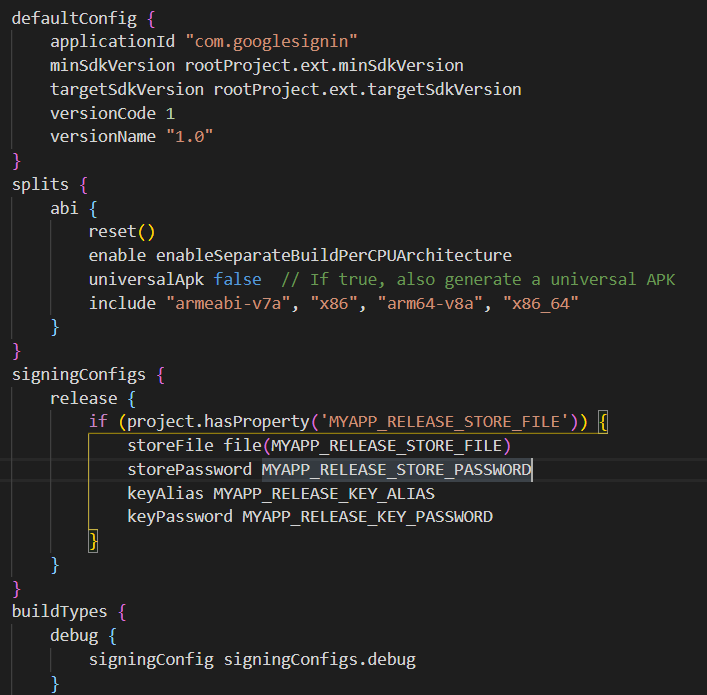
Edit the file android/app/build.gradle in your project folder and add the signing config,
...
android {
    ...
    defaultConfig { ... }
    signingConfigs {
        release {
            storeFile file(MYAPP_RELEASE_STORE_FILE)
            storePassword MYAPP_RELEASE_STORE_PASSWORD
            keyAlias MYAPP_RELEASE_KEY_ALIAS
            keyPassword MYAPP_RELEASE_KEY_PASSWORD
        }
    }
    buildTypes {
        release {
            ...
            signingConfig signingConfigs.release
        }
    }
}
...
Generating the release APK
If you have a react.gradle file in android/app
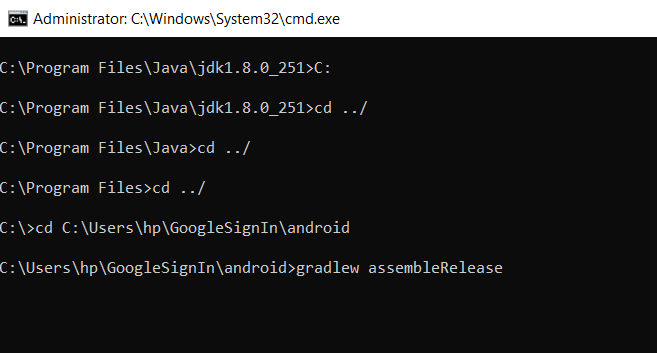
Simply run the following in a terminal:
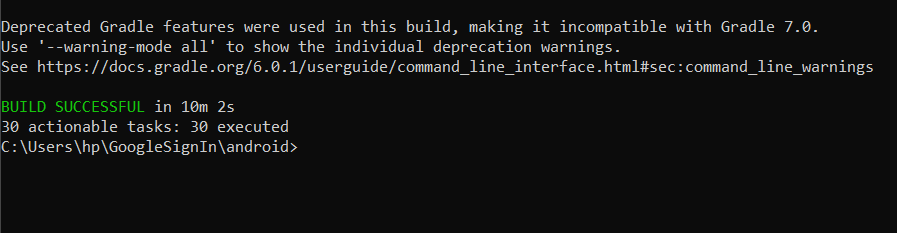
$ cd android && ./gradlew assembleReleaseIf you need to change the way the JavaScript bundle and/or drawable resources are bundled (e.g. if you changed the default file/folder names or the general structure of the project), have a look at android/app/build.gradle to see how you can update it to reflect these changes.
If you don’t have a react.gradle file:
You can upgrade to the latest version of React Native to get this file. Alternatively, you can bundle the JavaScript package and drawable resources manually by doing the following in a terminal:
$ mkdir -p android/app/src/main/assets
$ react-native bundle --platform android --dev false --entry-file index.android.js \
--bundle-output android/app/src/main/assets/index.android.bundle \
--assets-dest android/app/src/main/res/
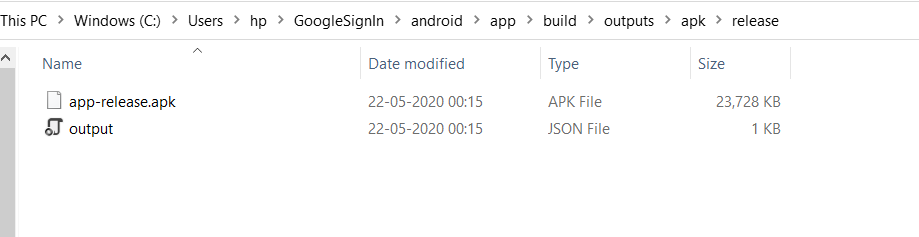
$ cd android && ./gradlew assembleReleaseIn both cases the generated APK can be found under android/app/build/outputs/apk/app-release.apk, and is ready to be distributed.
Testing the release build of your app
Before uploading the release build to the Play Store, make sure you test it thoroughly. Install it on the device using:
$ cd android && ./gradlew installReleaseNote that installRelease is only available if you’ve set up signing as described above.
You can kill any running packager instances, all your and framework JavaScript code is bundled in the APK’s assets.
Enabling Proguard to reduce the size of the APK (optional)
Proguard is a tool that can slightly reduce the size of the APK. It does this by stripping parts of the React Native Java bytecode (and its dependencies) that your app is not using.
IMPORTANT: Make sure to thoroughly test your app if you’ve enabled Proguard. Proguard often requires configuration specific to each native library you’re using. See app/proguard-rules.pro.
To enable Proguard, set minifyEnabled to true:
...
android {
    ...
    buildTypes {
        release {
            ...
            minifyEnabled true
        }
    }
}
...
Migrating old Android React Native apps to use App Signing by Google Play
If you are migrating from previous version of React Native chances are your app does not use App Signing by Google Play feature. We recommend you enable that in order to take advantage from things like automatic app splitting. In order to migrate from the old way of signing you need to start by generating new upload key and then replacing release signing config in android/app/build.gradle to use the upload key instead of the release one (see section about adding signing config to gradle). Once that’s done you should follow the instructions from Google Play Help website in order to send your original release key to Google Play.