
In this article, I am going to discuss how to implement Token Based Authentication in Web API to secure the server resources with an example.
Authentication is a vital process in system programming. Authentication means verifying the user who is accessing the system. Today, we are using modern devices that have different types of apps or software and sometimes, we directly access the website from the browser. To access this application, we probably need to pass our credentials and these systems verify it. If you are a valid user, then it will allow accessing the system otherwise not.
Only developing Web APIs is not enough if there is no security. So, it also very important for us as a developer to implement security for all types of clients (such as Browsers, Mobile Devices, Desktop applications, and IoTs) who are going to use your Web API services.
The most preferred approach nowadays to secure the Web API resources is by authenticating the users in Web API server by using the signed token (which contains enough information to identify a particular user) which needs to be sent to the server by the client with each and every request. This is called the Token-Based Authentication approach.
Advantages of Token Based Authentication
- The client application is not dependent on a specific authentication mechanism. The token is generated by the server and the Web API have some APIs to understand, validate the token and perform the authentication. This approach provides Loose Coupling between client and the Web AP
Step for Token Based Authentication
Step1: Creating the database
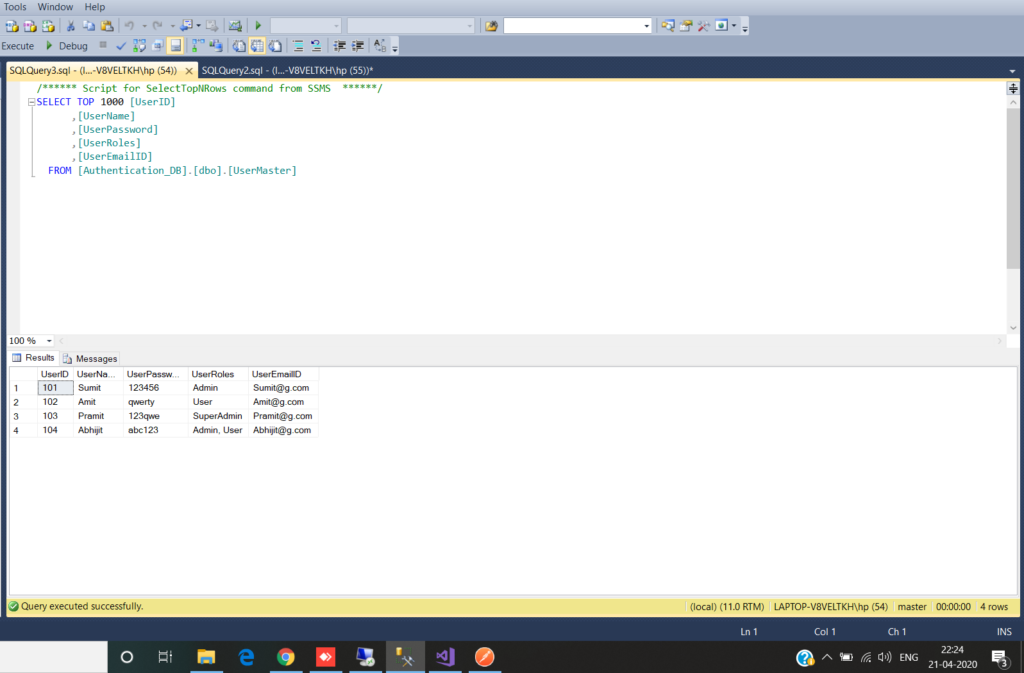
USE [Authentication_DB]
GO
/****** Object:  Table [dbo].[UserMaster]    Script Date: 21-04-2020 21:37:56 ******/
SET ANSI_NULLS ON
GO
SET QUOTED_IDENTIFIER ON
GO
SET ANSI_PADDING ON
GO
CREATE TABLE [dbo].[UserMaster](
	[UserID] [int] NOT NULL,
	[UserName] [varchar](50) NULL,
	[UserPassword] [varchar](50) NULL,
	[UserRoles] [varchar](500) NULL,
	[UserEmailID] [varchar](100) NULL,
PRIMARY KEY CLUSTERED
(
	[UserID] ASC
)WITH (PAD_INDEX = OFF, STATISTICS_NORECOMPUTE = OFF, IGNORE_DUP_KEY = OFF, ALLOW_ROW_LOCKS = ON, ALLOW_PAGE_LOCKS = ON) ON [PRIMARY]
) ON [PRIMARY]

GO
SET ANSI_PADDING OFF
GO
INSERT [dbo].[UserMaster] ([UserID], [UserName], [UserPassword], [UserRoles], [UserEmailID]) VALUES (101, N'Sumit', N'123456', N'Admin', N'Sumit@g.com')
INSERT [dbo].[UserMaster] ([UserID], [UserName], [UserPassword], [UserRoles], [UserEmailID]) VALUES (102, N'Amit', N'qwerty', N'User', N'Amit@g.com')
INSERT [dbo].[UserMaster] ([UserID], [UserName], [UserPassword], [UserRoles], [UserEmailID]) VALUES (103, N'Pramit', N'123qwe', N'SuperAdmin', N'Pramit@g.com')
INSERT [dbo].[UserMaster] ([UserID], [UserName], [UserPassword], [UserRoles], [UserEmailID]) VALUES (104, N'Abhijit', N'abc123', N'Admin, User', N'Abhijit@g.com')
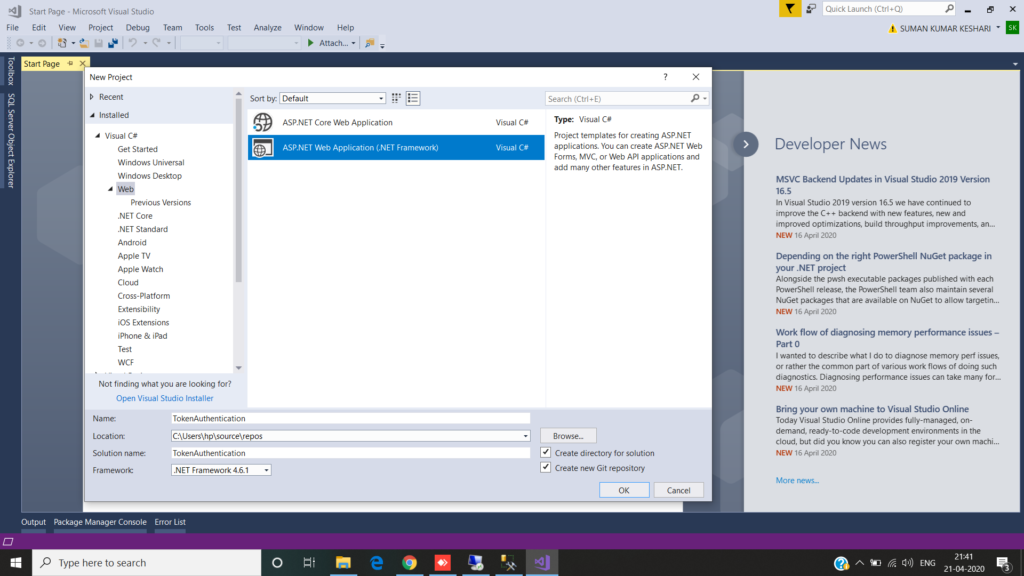
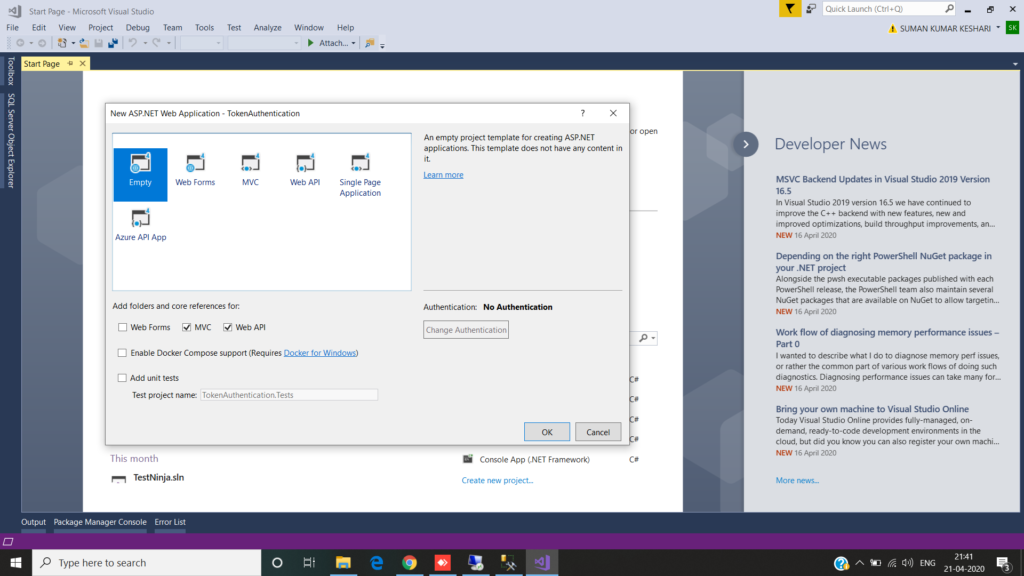
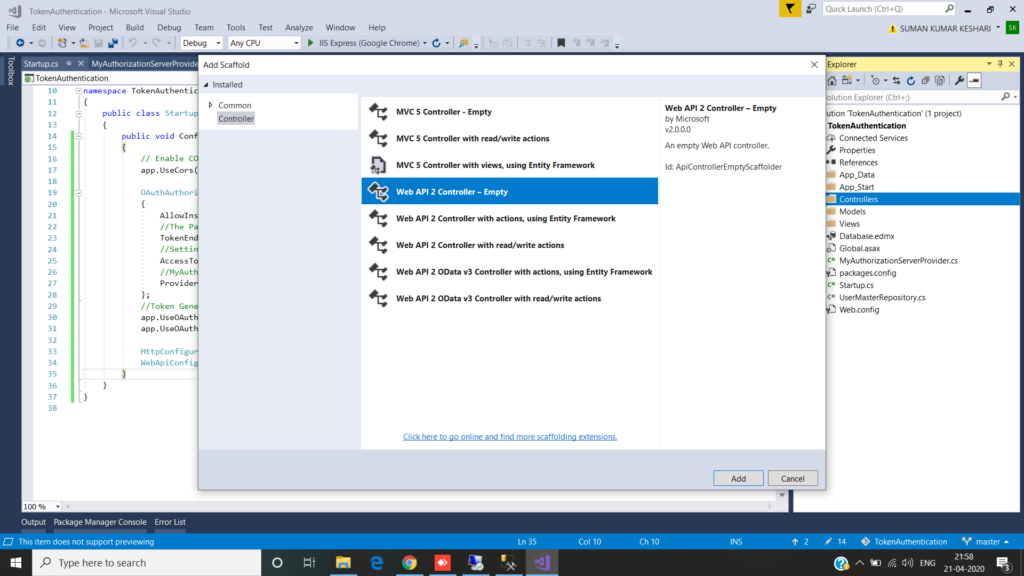
Step2: Creating an empty Web API Project with the name TokenAuthentication

Step3: Add the required references from NuGet packages into your application.
In order to Implement the Token-Based Authentication in ASP.NET Web API, we need to install the followings references from Nuget packages
- Microsoft.Owin.Host.SystemWeb
- Microsoft.Owin.Security.OAuth
- Microsoft.Owin.Cors
- Newtonsoft.json
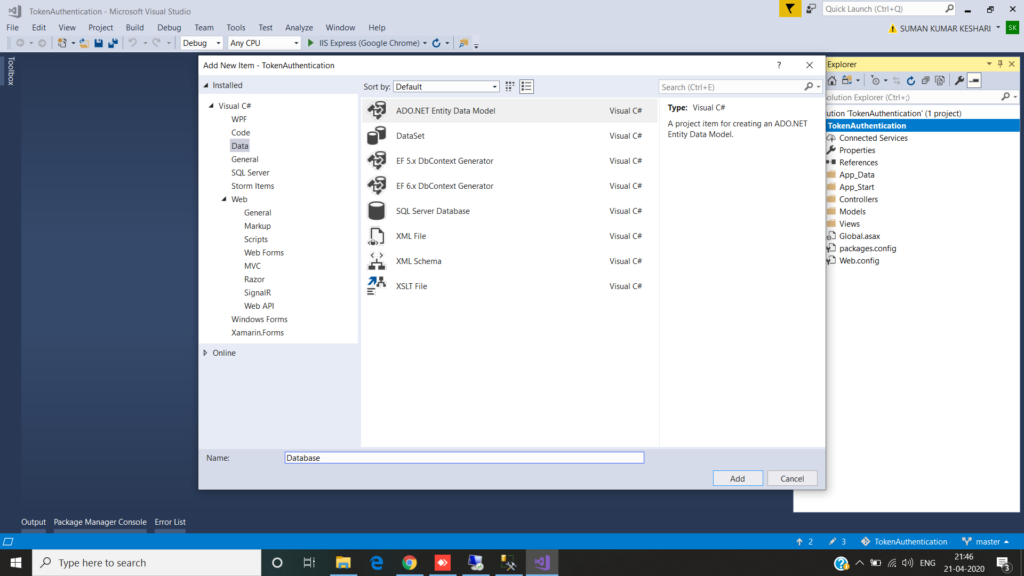
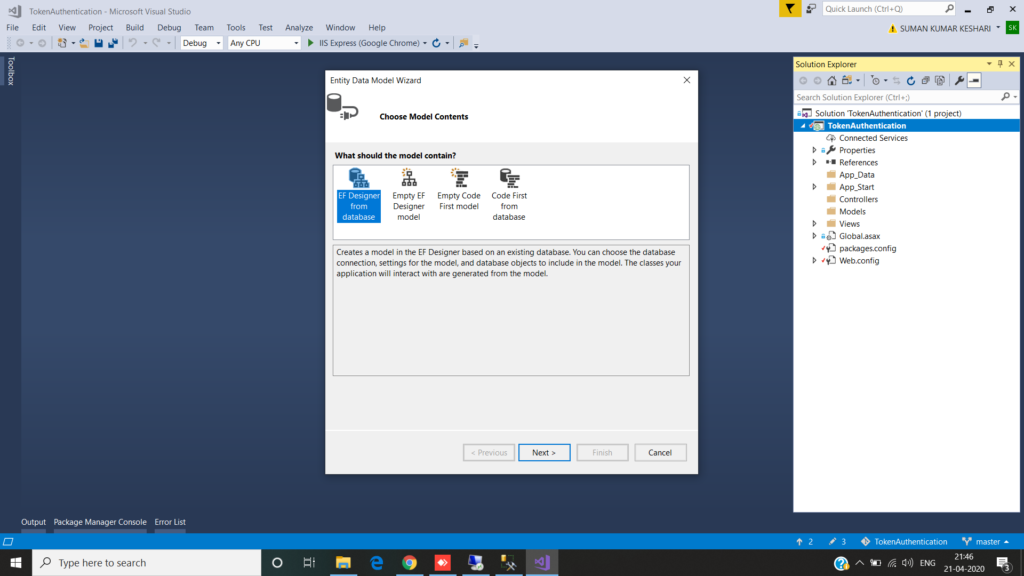
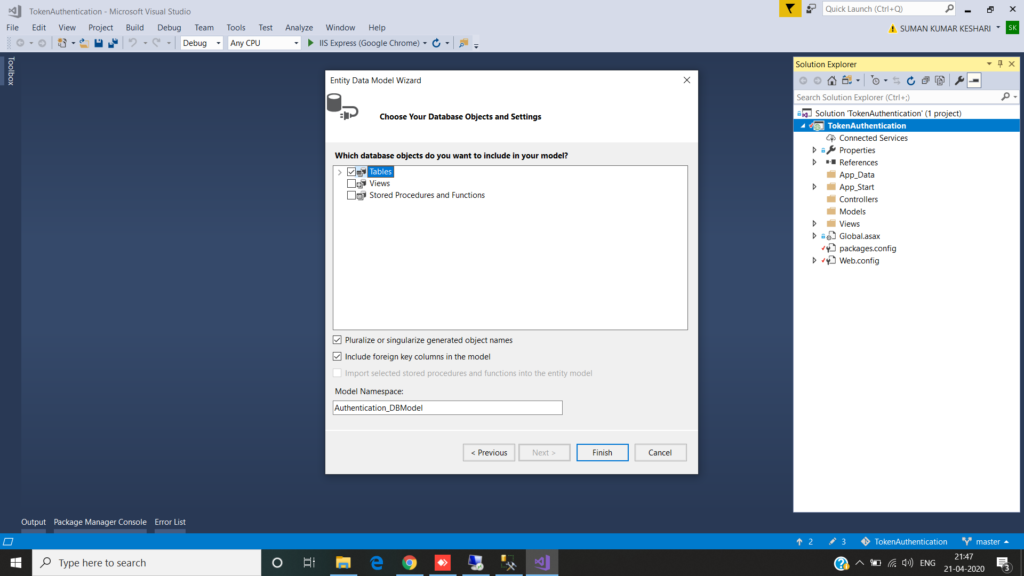
Step4: Creating the ADO.NET Entity Data Model
Step5: Create a Repository class
using System;
using System.Collections.Generic;
using System.Linq;
using System.Web;

namespace TokenAuthentication
{
    public class UserMasterRepository : IDisposable
    {
        // Authentication_DBEntities it is your context class
        Authentication_DBEntities context = new Authentication_DBEntities();
        //This method is used to check and validate the user credentials
        public UserMaster ValidateUser(string username, string password)
        {
            return context.UserMasters.FirstOrDefault(user =>
            user.UserName.Equals(username, StringComparison.OrdinalIgnoreCase)
            && user.UserPassword == password);
        }
        public void Dispose()
        {
            context.Dispose();
        }
    }
}
Step6: Add a class for validating the user credentials asking for tokens.
First we have to add a class named as per your choice. I took the name MyAuthorizationServerProvider and inherit it from OAuthAuthorizationServerProvider class and then need to override the ValidateClientAuthentication and GrantResourceOwnerCredentials method.
The ValidateClientAuthentication method is used for validating the client application.
The GrantResourceOwnerCredentials method is used to validate the client credentials. If it found the credentials are valid, then only it generates the access token. The client then using this access token can access the authorized resources from the Resource Server.
First, we need to create an object of the ClaimsIdentity class and to the arguments of ClaimsIdentity class, we need to pass the authentication type. As we are going to use the Token-Based Authentication, so the Authentication Type is bearer token.
Once we create the ClaimsIdentity instance, then need to add the claims such as Role, Name, and Email, etc. These are the user information which is going to be included in the signed access token. You can add any number of claims and once you add more claims then the token size will increase.
using Microsoft.Owin.Security.OAuth;
using System;
using System.Collections.Generic;
using System.Linq;
using System.Security.Claims;
using System.Threading.Tasks;
using System.Web;
namespace TokenAuthentication
{
public class MyAuthorizationServerProvider : OAuthAuthorizationServerProvider
{
public override async Task ValidateClientAuthentication(OAuthValidateClientAuthenticationContext context)
{
context.Validated();
}
public override async Task GrantResourceOwnerCredentials(OAuthGrantResourceOwnerCredentialsContext context)
{
using (UserMasterRepository _repo = new UserMasterRepository())
{
var user = _repo.ValidateUser(context.UserName, context.Password);
if (user == null)
{
context.SetError("invalid_grant", "Provided UserName and Password is incorrect");
return;
}
var identity = new ClaimsIdentity(context.Options.AuthenticationType);
identity.AddClaim(new Claim(ClaimTypes.Role, user.UserRoles));
identity.AddClaim(new Claim(ClaimTypes.Name, user.UserName));
identity.AddClaim(new Claim("Email", user.UserEmailID));
context.Validated(identity);
}
}
}
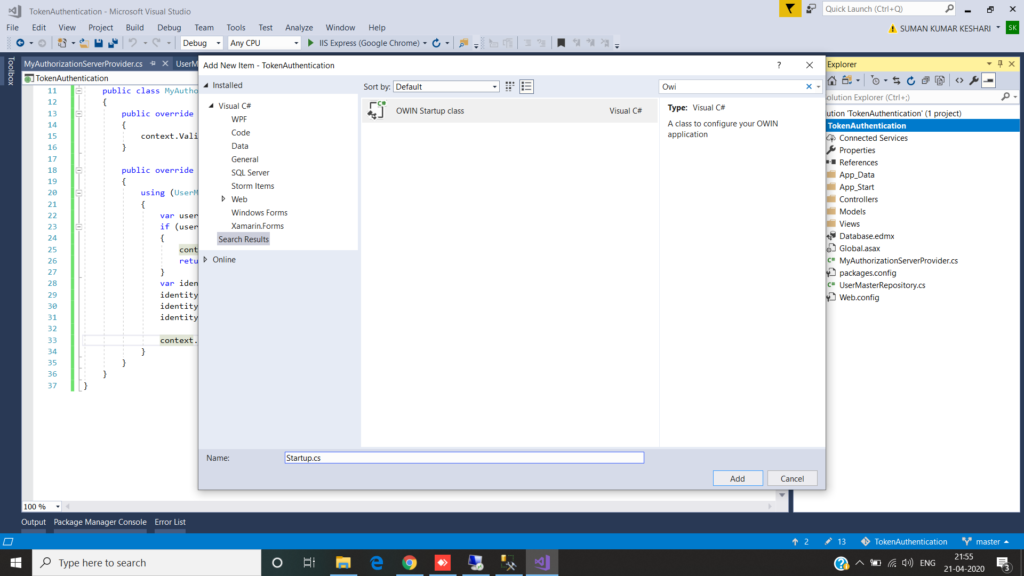
}Step7: Add the OWINStartup class.
using System;
using System.Threading.Tasks;
using System.Web.Http;
using Microsoft.Owin;
using Microsoft.Owin.Security.OAuth;
using Owin;

[assembly: OwinStartup(typeof(TokenAuthentication.Startup))]

namespace TokenAuthentication
{
    public class Startup
    {
        public void Configuration(IAppBuilder app)
        {
            // Enable CORS (cross origin resource sharing) for making request using browser from different domains
            app.UseCors(Microsoft.Owin.Cors.CorsOptions.AllowAll);

            OAuthAuthorizationServerOptions options = new OAuthAuthorizationServerOptions
            {
                AllowInsecureHttp = true,
                //The Path For generating the Toekn
                TokenEndpointPath = new PathString("/token"),
                //Setting the Token Expired Time (24 hours)
                AccessTokenExpireTimeSpan = TimeSpan.FromDays(1),
                //MyAuthorizationServerProvider class will validate the user credentials
                Provider = new MyAuthorizationServerProvider()
            };
            //Token Generations
            app.UseOAuthAuthorizationServer(options);
            app.UseOAuthBearerAuthentication(new OAuthBearerAuthenticationOptions());

            HttpConfiguration config = new HttpConfiguration();
            WebApiConfig.Register(config);
        }
    }
}
Here we created a new instance of the OAuthAuthorizationServerOptions class
The path for generating the tokens will be as http://localhost:portnumber/token.
We have also set the expiry time for the access token as 24 hours. So if the user tried to use the same access token after 24 hours from the token issue time, then the request will be rejected and return 401 code. In the Provider I set the MyAuthorizationServerProvider
And then I passed the options object to the extension method UseOAuthAuthorizationServer which will add the authentication middleware to the pipeline.
Step8: Add a Web API Controller.
And then add the code as i written here below.
using System;
using System.Collections.Generic;
using System.Linq;
using System.Net;
using System.Net.Http;
using System.Security.Claims;
using System.Web.Http;

namespace TokenAuthentication.Controllers
{
    public class AuthController : ApiController
    {

        //This resource is For all types of role
        [Authorize(Roles = "SuperAdmin, Admin, User")]
        [HttpGet]
        [Route("api/Auth/resource1")]
        public IHttpActionResult Get1()
        {
            var identity = (ClaimsIdentity)User.Identity;
            return Ok("Hello: " + identity.Name);
        }


        //This resource is only For Admin and SuperAdmin role
        [Authorize(Roles = "SuperAdmin, Admin")]
        [HttpGet]
        [Route("api/Auth/resource2")]
        public IHttpActionResult Get2()
        {
            var identity = (ClaimsIdentity)User.Identity;
            var Email = identity.Claims
                      .FirstOrDefault(c => c.Type == "Email").Value;
            var UserName = identity.Name;

            return Ok("Hello " + UserName + ", Your Email ID is :" + Email);
        }


        //This resource is only For SuperAdmin role
        [Authorize(Roles = "SuperAdmin")]
        [HttpGet]
        [Route("api/Auth/resource3")]
        public IHttpActionResult Get3()
        {
            var identity = (ClaimsIdentity)User.Identity;
            var roles = identity.Claims
                        .Where(c => c.Type == ClaimTypes.Role)
                        .Select(c => c.Value);
            return Ok("Hello " + identity.Name + "Your Role(s) are: " + string.Join(",", roles.ToList()));
        }
    }
}
As you see above code that I use Authorize Attribute and in every Action Method I have passed different roles so that those Users can call that Action Methods otherwise you got Unauthorize. Lets run this code in postman and see what we got in return.
1. Without Access Token, try to make a request for following URI then we got 401 unauthorized responses.

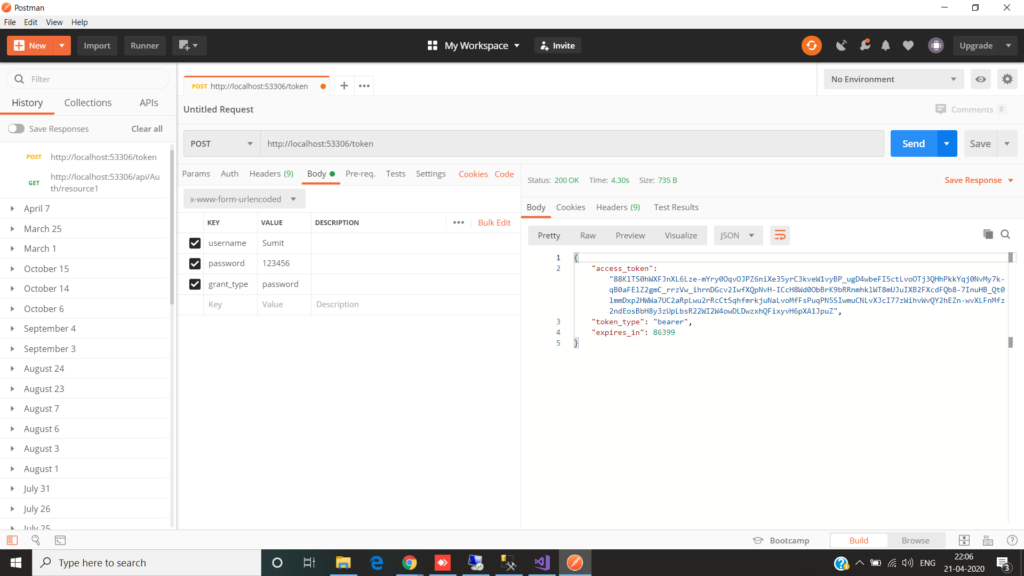
2. Try to create the Access token with valid credentials and you will get status code 200 Ok and in the response side you will get the access token which contains enough information to identify the user Sumit. You can also see that the token type is Bearer and the token expire time in seconds.
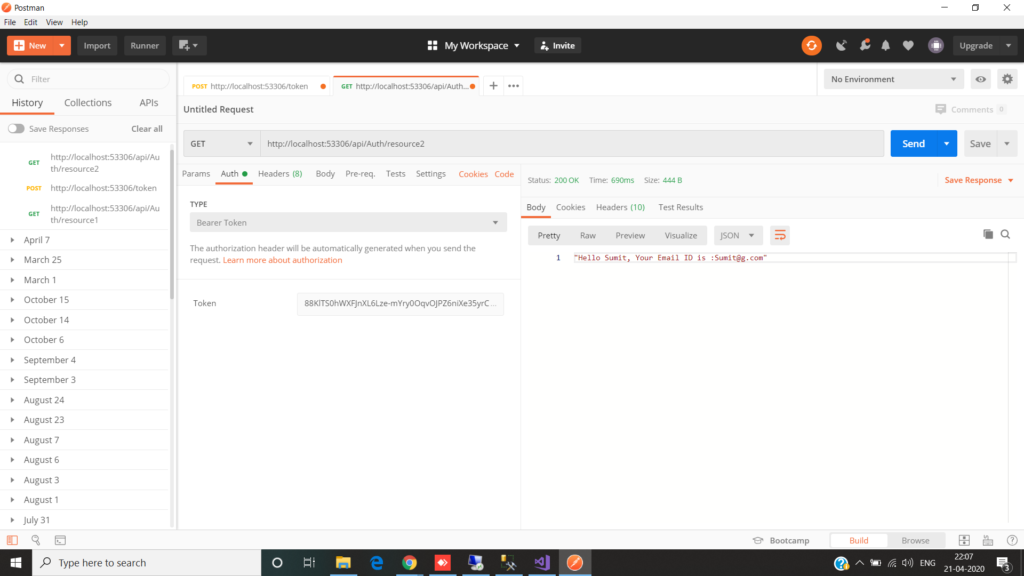
If you get the Access Token then you have to pass that access token in the Auth section in postman and then you have to select the Bearer Token and then pass that access token into it. And then call the Url if that user has the proper role to access that url then you get the proper response if not then you got the message for Unauthorize code.
In this article, I explain how to implement Token Based Authentication in Web API with an example. I hope you enjoy this article.


It’s a pity you don’t have a donate button! I’d most certainly donate to
this excellent blog! I guess for now i’ll settle for bookmarking and adding your
RSS feed to my Google account. I look forward to new updates and will talk about this site with my Facebook group.
Talk soon!
Thanks, @BellaRiva Skin Care,
For your valuable comment in future we will surely add donate option,
I hope we will deal with some products in the future.
Team codehunger