In the article, we will get to know how we can create a clickwrap agreement in Docusign using Laravel.Before moving forward let’s know few things about the clickwrap agreement.
What is ClickWrap Agreement ?
A form of agreement used for software licensing, websites, and other electronic media. It requires the user to agree to terms and conditions before using a website or completing an installation or online purchase process. These agreements typically present the terms and conditions followed by a check box with the words “I agree” or “I accept” that the user must click.
Now, I thought you have the basic idea of a clickwrap agreement. In order to integrate the clickwrap agreement, we will follow the below steps.
- Create a developer account on DocuSign
- Create an application and get the keys on DocuSign
- Install laravel project
- Install Docusign Package
- Setting up .env with DocuSign keys
- Create Routes
- Create Controller
- Create Blade File
- Test the integration
Step: 1 Create a developer account on DocuSign
To create the developer account on Docusign please click here. this link will redirect you to docusign developer account, you will have something like the below image.

After the registration, you will receive an account verification email on your registered email, verify that email and proceed.Once you logged in you have image like the below one.

From this section we need API Account ID, please copy API Account ID and place it in safe place we will use it later.
Step: 2 Create an application and get the keys on DocuSign
Now click on ADD APP AND INTEGRATION KEY button to create a new application.

Once you create the app you can see something like the below image.

From here you have to copy integration key and secret key and keep it in a safe place we will use it later.
Step: 3 Install laravel project
Open your command prompt under your htdocs and run the below command
composer create-project laravel/laravel laravel-docusign
Step: 4 Install Docusign Package
Composer require docusign/esign-client
Step: 5 Setting up .env with Docusign keys
Add the below in your .env file, and then run php artisan optimize:clear
DOCUSIGN_BASE_URL=https://demo.docusign.net/restapi
DOCUSIGN_ACCOUNT_ID=Your API Account ID
DOCUSIGN_CLIENT_ID= Your Integrator key
DOCUSIGN_CLIENT_SECRET=Your secret key
Step:6 Create routes
Create routes for the docusign add the below route in your routes/web.php file.
Route::get('connect-docusign', [App\Http\Controllers\DocusignController::class, 'connect'])->name('docusign');
Route::get('docusign-connect', [App\Http\Controllers\DocusignController::class, 'docusignConnect'])->name('docusign.connect');
Route::get('admin/docusign/callback',[App\Http\Controllers\DocusignController::class,'callback'])->name('docusign.callback');
Route::get('sign-document',[App\Http\Controllers\DocusignController::class,'signDocument'])->name('docusign.document');
Step: 7 Create Controller
Now we will create a controller for our routes, to create the controller run the below command in your terminal from the project root folder.
php artisan make:controller DocusignController
Now add the below code in your DocusignController.php file, you can find this file under app/Http/Controllers.
<?php

namespace App\Http\Controllers;

use Illuminate\Http\Request;
use Session;
use DocuSign\Click\Client\ApiClient;
use DocuSign\Click\Configuration;
use DocuSign\Click\Model\Document;
use DocuSign\Click\Model\DisplaySettings;
use DocuSign\Click\Api\AccountsApi;
use DocuSign\Click\Model\ClickwrapRequest;
use Illuminate\Support\Facades\Storage;

class DocusignController extends Controller
{
    public function connect()
    {
        return view('docusign.connect');
    }

    public function docusignConnect()
    {
        try {
            $params = [
                'response_type' => 'code',
                'scope' => "signature click.manage",
                'client_id' => env('DOCUSIGN_CLIENT_ID'),
                'redirect_uri' => route('docusign.callback'),
            ];
            $queryBuild = http_build_query($params);

            $url = "https://account-d.docusign.com/oauth/auth?";

            $botUrl = $url . $queryBuild;
            // dd($botUrl);
            return redirect()->to($botUrl);
        } catch (Exception $e) {
            return redirect()->back()->with('error', 'Something Went wrong !');
        }
    }

    /**
     * Create a new controller instance.
     *
     * @return void
     */
    public function callback(Request $request)
    {
        $code = $request->code;

        $integrator_and_secret_key = $this->getSecretKey();

        $ch = curl_init();

        curl_setopt($ch, CURLOPT_URL, 'https://account-d.docusign.com/oauth/token');
        curl_setopt($ch, CURLOPT_RETURNTRANSFER, 1);
        curl_setopt($ch, CURLOPT_POST, 1);
        $post = array(
            'grant_type' => 'authorization_code',
            'code' => $code,
        );
        curl_setopt($ch, CURLOPT_POSTFIELDS, $post);

        $headers = array();
        $headers[] = 'Cache-Control: no-cache';
        $headers[] = "authorization: $integrator_and_secret_key";
        curl_setopt($ch, CURLOPT_HTTPHEADER, $headers);

        $result = curl_exec($ch);
        if (curl_errno($ch)) {
            echo 'Error:' . curl_error($ch);
        }
        curl_close($ch);
        $decodedData = json_decode($result);

        Session::put('docusign_auth_code', $decodedData->access_token);

        return redirect()->route('docusign')->with('msg', 'Docusign Succesfully Connected');
    }

    /**
     * Generate secret key combination
     *
     * @return string
     */
    public function getSecretKey()
    {
        $client_id = env('DOCUSIGN_CLIENT_ID');
        $client_secret = env('DOCUSIGN_CLIENT_SECRET');

        return "Basic " . utf8_decode(base64_encode("{$client_id}:{$client_secret}"));
    }


    /**
     * Call Docusign click wrap
     *
     * @return response
     */
    public function signDocument()
    {
        try {
            $accountsApi = $this->accountsApi();
            # Build the display settings
            $displaySettings = new DisplaySettings(
                [
                    'consent_button_text' => 'I Agree',
                    'display_name' => 'Terms of Service',
                    'downloadable' => true,
                    'format' => 'modal',
                    'has_decline_button' => true,
                    'must_read' => true,
                    'must_view' => true,
                    'require_accept' => true,
                    'document_display' => 'document'
                ]
            );
            # Read the PDF from the disk
            # The exception will be raised if the file doesn't exist

            $filename = 'pdf/contract_2.pdf';

            $demo_docs_path = Storage::disk('public')->path($filename);
            $content_bytes = file_get_contents($demo_docs_path);

            $base64_file_content = base64_encode($content_bytes);

            # Build array of documents.
            $documents = [
                new Document([  # create the DocuSign document object
                    'document_base64' => $base64_file_content,
                    'document_name' => $filename,
                    'file_extension' => 'pdf',
                    'order' => '1'
                ])
            ];

            # Build ClickwrapRequest
            $clickwrap = new ClickwrapRequest(
                [
                    'clickwrap_name' => $filename,
                    'display_settings' => $displaySettings,
                    'documents' => $documents,
                    'require_reacceptance' => true
                ]
            );

            $clickwrap =  $accountsApi->createClickwrap(env('DOCUSIGN_ACCOUNT_ID'), $clickwrap);

            $clickwrap_request = new ClickwrapRequest(['status' => 'active']);

            $response = $accountsApi->updateClickwrapVersion(env('DOCUSIGN_ACCOUNT_ID'), $clickwrap['clickwrap_id'], '1', $clickwrap_request);

            $params = [
                'accountId' => env('DOCUSIGN_ACCOUNT_ID'),
                'clickwrapId' => $clickwrap['clickwrap_id'],
                'environment' => 'https://demo.docusign.net',
                'clientUserId' => rand(1111111111, 9999999999),
                'created_time' => $response['created_time'],
            ];


            if ($params['created_time']) {
                return redirect()->back()->with('click_wrap', $params);
            }
        } catch (Exception $e) {
            return redirect()->back()->with('msg', $e->getMessage());
        }
    }


    /**
     * Getter for the AccountsApi
    */
    public function accountsApi(): AccountsApi
    {
        $args['ds_access_token'] = Session::get('docusign_auth_code');

        $config = new Configuration();
        $config->setHost('https://demo.docusign.net/clickapi');
        $config->addDefaultHeader('Authorization', 'Bearer ' . $args['ds_access_token']);
        $this->apiClient = new ApiClient($config);
        return new AccountsApi($this->apiClient);
    }

}
Note: You must have to add callback URL in your docusign , to get your laravel application get authenticated.
See the below image.

Step:8 Create a blade file
Now create a folder named as docusign under your resouces/views under docusign folder create two file one as layout.blade.php and another as connect.blade.php and write the below code in it.
Layout.blade.php
<!doctype html>
<html lang="en">
  <head>
    <!-- Required meta tags -->
    <meta charset="utf-8">
    <meta name="viewport" content="width=device-width, initial-scale=1">

    <!-- Bootstrap CSS -->
    <link href="https://cdn.jsdelivr.net/npm/bootstrap@5.0.2/dist/css/bootstrap.min.css" rel="stylesheet" integrity="sha384-EVSTQN3/azprG1Anm3QDgpJLIm9Nao0Yz1ztcQTwFspd3yD65VohhpuuCOmLASjC" crossorigin="anonymous">

    <title>Hello, world!</title>
  </head>
  <body>

    <!-- Optional JavaScript; choose one of the two! -->

    @yield('content')

    <!-- Option 1: Bootstrap Bundle with Popper -->
    <script src="https://cdn.jsdelivr.net/npm/bootstrap@5.0.2/dist/js/bootstrap.bundle.min.js" integrity="sha384-MrcW6ZMFYlzcLA8Nl+NtUVF0sA7MsXsP1UyJoMp4YLEuNSfAP+JcXn/tWtIaxVXM" crossorigin="anonymous"></script>

  </body>
</html>
Connect.blade.php
@extends('docusign.layout')
@section('content')
@if($clickwrap = Session::get('click_wrap'))
<div id="ds-clickwrap"></div>
<script src="https://demo.docusign.net/clickapi/sdk/latest/docusign-click.js"></script>
<script>
    let mustAgree = false;
    docuSignClick.Clickwrap.render({
        environment: "{{$clickwrap['environment']}}",
        accountId: "{{$clickwrap['accountId']}}",
        clickwrapId: "{{$clickwrap['clickwrapId']}}",
        clientUserId: "{{$clickwrap['clientUserId']}}",
    }, '#ds-clickwrap')

</script>
@endif
<div class="containter">
    <div class="display-4 text-center">Docusign Click Wrap Tutorial</div>
    <div class="col text-center mt-5">
        @if($docusing = Session::get('docusign_auth_code'))
        <a href="{{route('docusign.document')}}" class="btn btn-success text-center">
            Proceed to signature
        </a>
        @else
        <a href="{{route('docusign.connect')}}" class="btn btn-primary text-center">
            Connect Docusign
        </a>
        @endif
    </div>
</div>
@endsection
Step-9 Test the integration
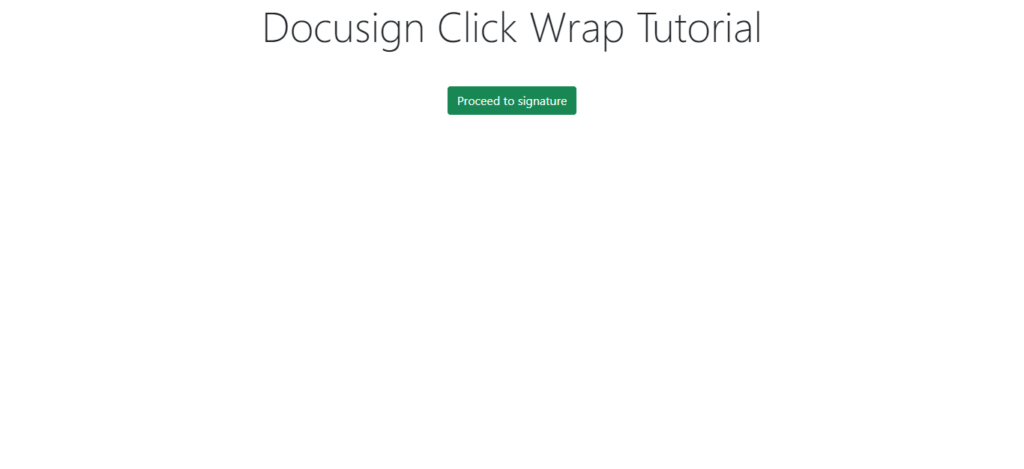
Now go to project and type php artisan serve to turn on the development server now go to your browser and visit this url http://localhost:8000/connect-docusign, when open this url you have something like the below image.
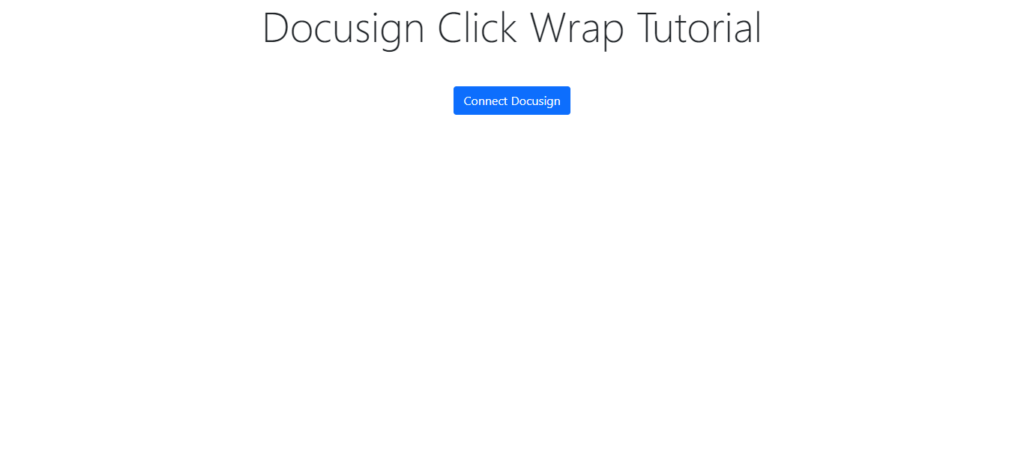
You have to click on Connect Docusign, when click on that button you will be redirected to the docusign auth page.
Where you have to enter your docusign developer account Id and password. On giving Write credential you will be back to your application.
And now the connect docusign button will become Proceed to signature.
Now click on proceed to signature, when you click on that your document will start showing with accept or decline agreement, as like the below image
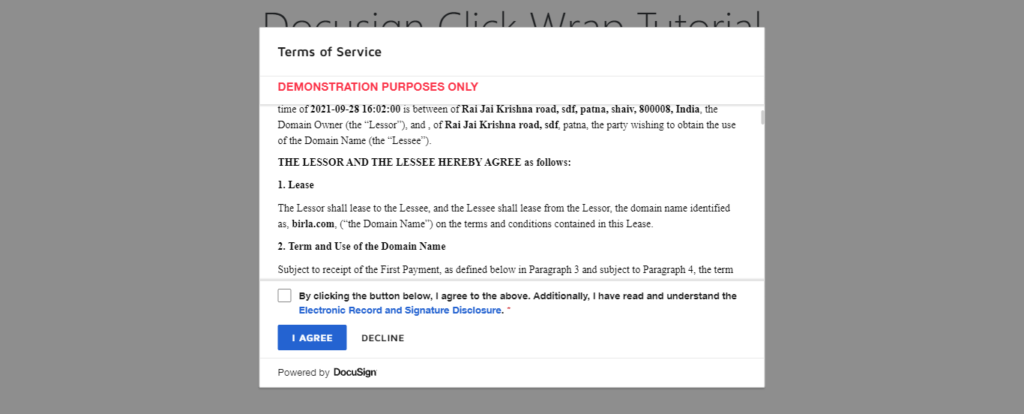
Hooray ! you have successfully implemented the docusign